A comprehensive guide on all stages of brush cutter maintenance, with lots of useful tips on how best to perform all the operations.
A guide to the main steps and operations in Brush Cutter Maintenance
The brush cutter is one of the most popular and widely used machines for mowing tall grass and small brushwood.
Performing proper maintenance is therefore essential in order not to impair its cutting performance.
In this guide we will give a complete overview of the different stages of maintenance, all the operations to be carried out and their correct procedure.
CONTENTS
Brush Cutter maintenance: The four steps
We can summarise all the various maintenance tasks for a Brush Cutter throughout the year in these four steps:
- Early season maintenance: Maintenance to be carried out to prepare the brush cutter for the new season;
- Before and after each use maintenance: Maintenance to be carried out closely to cutting sessions;
- Routine maintenance: Maintenance to be carried out regularly during the season;
- Maintenance for winter storage: Maintenance to be carried out before storing the brush cutter for the winter months.
We will analyse all the different stages of maintenance and all the operations they include, starting with maintenance at the beginning of the season and ending with winter storage.
Brief summary of the various maintenance phases according to the time of year.
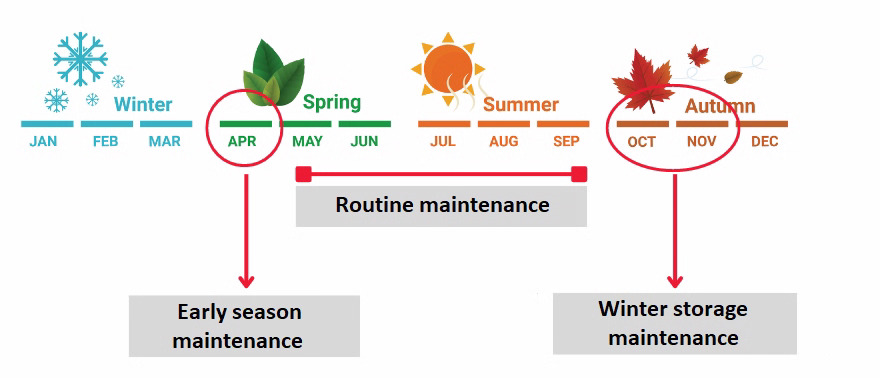
1. Early season maintenance
It is early in the season and we have just taken our brush cutter out of winter storage.
What is the maintenance work to be done?
- Replacing the air filter
- Change the oil engine in the case of a 4-stroke engine;
- Replace the spark plug;
- Refuelling;
- Balance the handle and check the axle guard;
1.1 Checking the air filter
The air filter serves as a cleaning device for the carburettor air, ensuring the proper engine operation.
Over time, however, these get dirty, which is why it is important to check and clean the filter regularly.
It should be replaced once a year or at least every 100 working hours.
During the initial maintenance phase at the beginning of the season, check the filter for dirt and wear and clean it of any residue.
If the filter is found to be damaged or excessively worn from the previous season, it should be replaced.
Let us then see the steps to be followed for its proper maintenance.
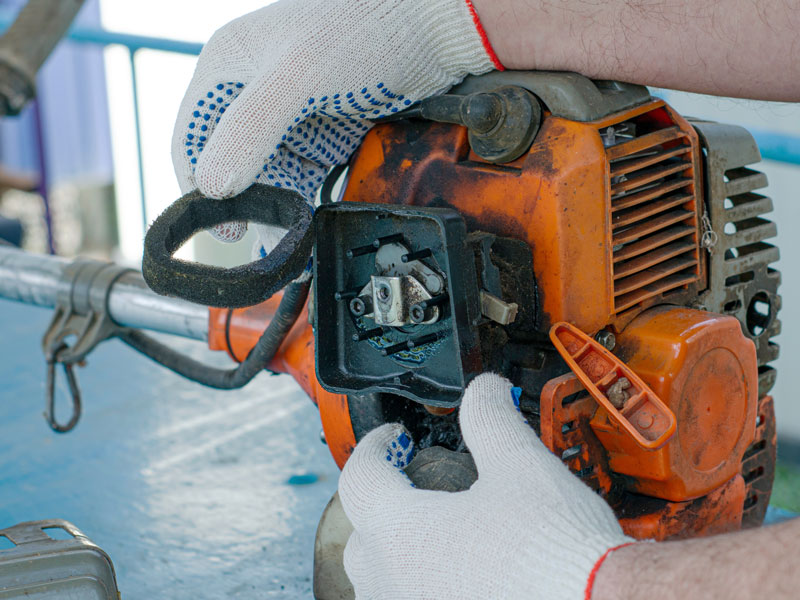
How to replace the air filter of a brush cutter?
- Open the filter housing, following the manufacturer’s instruction manual;
- Remove the filter, which can be of two different types, paper or non-woven.
Proceed to replace it with a new filter. - Close the housing.

1.2 Checking and replacing engine oil in the case of a 4-stroke engine
In the case of a internal combustion brush cutter with a 4-stroke engine, regular oil checks and oil changes are essential as well.
4-stroke petrol engines need air and petrol to run, as well as a sump containing lubricating oil for their proper functioning.
To prepare the machine for the cutting season, the oil must be renewed, as standing still for several months tends to lose all its lubricating properties.
If you wish to learn all the differences between a 2-stroke and a 4-stroke brush cutter read our dedicated guide.
When to change the oil in the brush cutter?
The oil should be changed after the first 5 working hours and every 20-25 working hours thereafter, or at least once a year.
The specific oil to be used and the frequency of replacement are always indicated in the instruction manual of the brush cutter.
1.3 Checking the spark plug
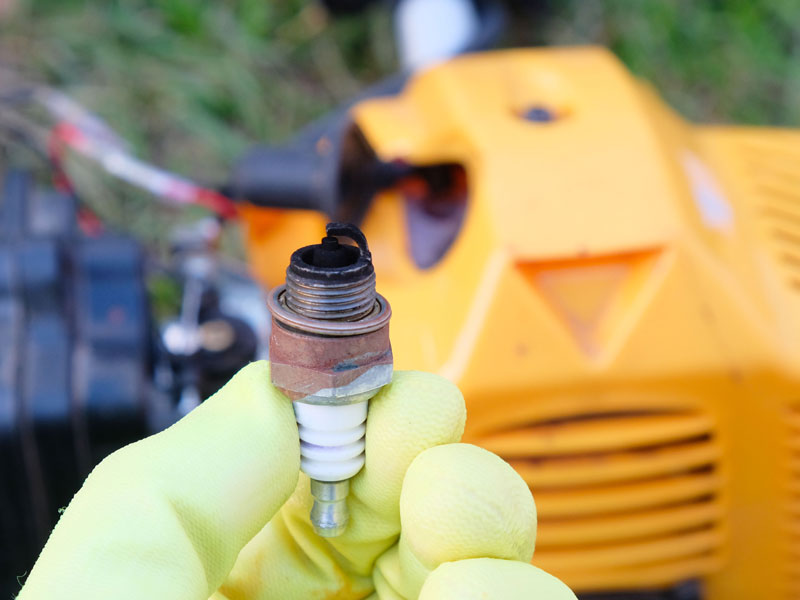
One of the first maintenance tasks to be performed at the beginning of the season is checking the spark plug. A clean, well-maintained spark plug allows the machine to start up easily and quickly, which is why regular and constant maintenance is necessary.
Similarly to the air filter, therefore, it must be checked for dirt or damage.
How to replace the spark plug of a brush cutter?
- Locate the candle;
- Disconnect the spark plug head cable and clean the area around the housing of any accumulated deposits or debris;
- Remove the spark plug to check its condition and clean or replace it;
- Check the correct distance between the upper electrode and the spark plug head;
- Refit the spark plug back into its housing, without over-tightening, and reconnect the cable to the head.

1.4 Refuelling

Refuelling is very important for the proper functioning of the engine and all its components.
This phase is often underestimated or even forgotten in early season, continuing using the previous year’s fuel.
This, however, is a serious mistake that should be avoided, as fuel loses all its characteristics and functionality when idle for a prolonged period, and also tends to accumulate residues and sticky substances that are harmful to the engine i
This step can only be skipped if fuel is properly stored, which we will see in the specific chapter on maintenance before winter storage.
1.5 Balancing the handle and controlling the axle guard
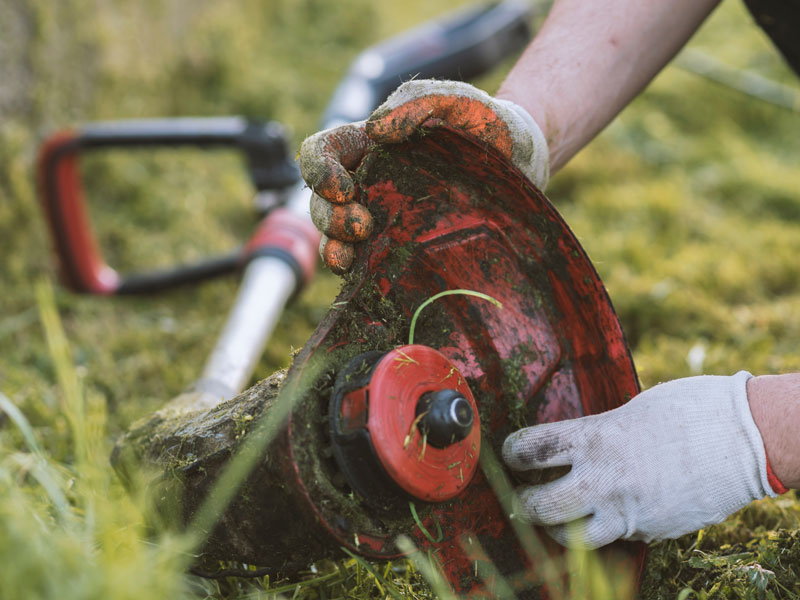
Handle and axle guard are among the most important parts for the correct use of a brush cutter.
Precisely for this reason, before using the machine again after winter standstill, the correct balance of the handle must be checked and the axle guard must be intact and in good condition to avoid dangerous accidents during use.
2. Before and after each use maintenance
In this chapter, on the other hand, we will look at all the tasks and inspections to be carried out both before and after using our brush cutter.
This includes not only specific maintenance and cleaning tasks, but also visual checks on the integrity of the parts most at risk of wear.
| Pre-use maintenance | Post-use maintenance |
| Checking operation of the control handle | Checking the cleanliness of the intake passages for cooling air |
| Checking the carburettor | General machine cleaning |
| Checking vibration-damping elements | |
| Checking the cutting tools |
2.1 Checking operation of the control handle
Prima di cominciare una sessione di taglio è fondamentale controllare che l’impugnatura di comando funzioni correttamente.
2.2 Checking the carburettor
Before starting a cutting session, it is essential to check that the control handle is working properly.
2.3 Checking vibration-damping elements
Vibration-damping elements must be checked before using the brush cutter for faults or damaged elements.
2.4 Checking cutting tools

A final check before starting the sessions is to inspect the cutting tool and verify the stability of the coupling.
Mowing heads can vary from model to model, so let’s see what to do with the various types:
- Line thread: The head must be opened to check that the line is correctly wound, the lines must not intertwine with each other;
- Plastic blade head: Check that the head is not worn or cracked and that the blades are in good condition.
2.5 Checking the intake passages for cooling air
Intake ducts must always be checked at the end of cutting sessions, and cleaned if necessary.
2.6 Cleaning the machine
Cleaning the brush cutter after a work session is an essential maintenance operation for the correct upkeep of the machine and its parts.
Cleaning the guard and body of the brush cutter after finishing work is very important, because it allows it to be cleaned before the various residues dry out.
Cleaning should always be carried out with the engine switched off in the case of an internal combustion model or, in the case of battery-operated electric models, unplugged from their power source.
For this first cleaning step, you can use a damp cloth, a brush with soft bristles or even blow it with compressed air to remove stubborn residues.
3. Routine maintenance
In this chapter we will look at all the routine maintenance tasks for a brush cutter, i.e. what needs to be done periodically to keep the machine at its best throughout the season:
- Cleaning or replacing the air filter;
- Checking and topping up oil in the case of a 4-stroke brush cutter;
- Checking or replacing the spark plug
- Cleaning the cylinder cooling fins;
- Greasing the transmission.
3.1 Checking or replacing the air filter
To keep the air filter clean, simply remove it and tap it on a surface every 8-10 hours of cutting.
If this is not enough, it must be cleaned with a brush or a jet of compressed air.
How to clean the air filter of a brush cutter?
- Open the filter housing, always following the manufacturer’s instruction manual;
- Remove the filter, which can be of two different types, paper or non-woven. In the case of a paper filter, cleaning it and then replacing it is enough; in the case of a non-woven filter, however, it must first be tapped to remove the superficial dirt particles, cleaning the smallest particles with special detergents.
3.2 Checking and topping up the oil in a 4-stroke engine
When using a brush cutter with a 4-stroke engine, the oil level must be checked regularly and topped up if necessary.
The oil should be filled in in accordance with the instructions in the manual, always taking care that it does not exceed the maximum indicated in the dipstick or overflow from the level plug.
3.3 Checking or replacing the spark plug
The spark plug is responsible for starting the brush cutter. It creates a spark that starts the engine’s ignition process, which is why constant maintenance of the spark plug is necessary.
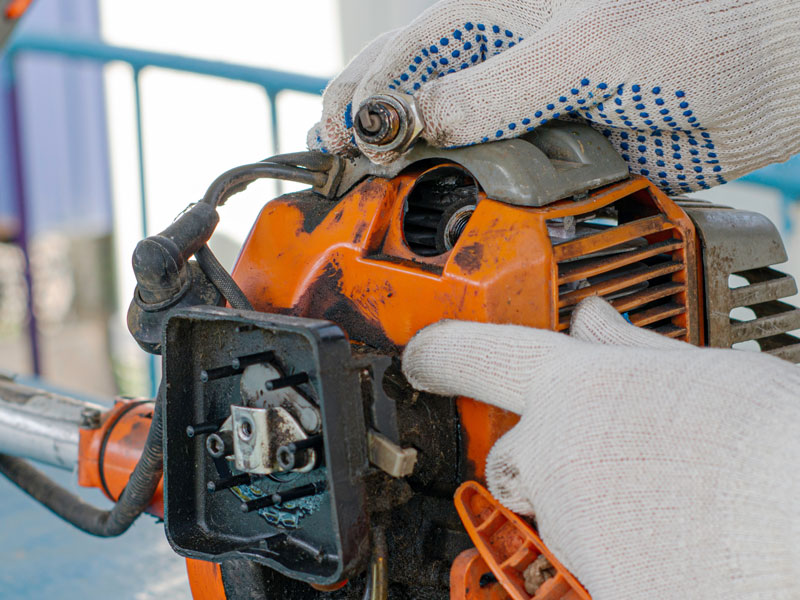
Being a usually long-lived component, it does not necessarily have to be replaced, but it is always good to make sure of its condition.
The classic signs of a dirty spark plug are difficulty starting the tool, sudden power loss and excessive fuel consumption and smoke.
Check the distance between the electrodes and adjust them if necessary, always following the instructions in the manual.
Use a lint-free cloth to clean the spark plug.
When should the spark plug be replaced?
Usually the spark plug should be replaced at least every 25 to 30 operating hours.
How can I recognise a defective spark plug?
In most cases, the classic signs of a defective spark plug are scaling or deposits on the electrodes.
In case of heavy wear or excessive working hours, however, it must be replaced.
3.4 Cleaning the cylinder cooling fins
This cleaning operation ensures the correct operation of the brush cutter thanks to proper heat dissipation.
The fins should therefore be checked often to ensure that they are clean and if not, they should be cleaned with a brush or a jet of compressed air.
3.5 Greasing the transmission
Greasing the various transmission parts of the brush cutter is a step that is often underestimated, but is actually very important in order to keep the various parts working properly together.
It is also extremely important to grease the bevel gear, i.e. the gear that transmits movement to the cutting unit, approximately every 20 working hours.
The various joints, drive rods and parts where they might be connected must be greased as well.
For backpack brush cutters, on the other hand, the flexible transmission, i.e. the part that connects the brush cutter to the backpack motor, must be greased as well, in order to prevent breakage.
4. Maintenance for winter storage
Finally, in this chapter we cover all the maintenance work to be performed in the last stage, i.e. storage before winter, where the brush cutter is stored until the following spring.
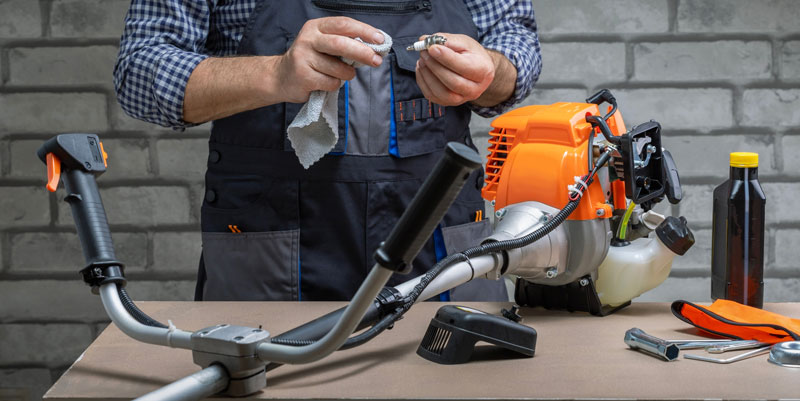
We can summarise the steps of this phase in:
- Draining and cleaning the fuel tank;
- Removing the spark plug;
- Emptying the carburettor;
- Dismantling and cleaning the cutting system;
- Cleaning the machine;
- Storage.
4.1 Emptying the tank
Before the long winter break, it is important to completely drain the tank of the brush cutter.
To store it properly, the fuel must be stored in special canisters that protect it from UV exposure.
4.2 Removing the spark plug
The spark plug must also be removed from its housing if it is to be left unused for a long period of time.
Once unscrewed, pour a teaspoon of oil into its housing so that it is not exposed to the air and is always well lubricated.
4.3 Emptying the carburettor
An operation to be carried out immediately after emptying the tank is to empty the carburettor.
To complete this step, the brush cutter must be left running at idle until it switches itself off.
4.4 Dismantling and cleaning the cutting system
It’s time to clean up before the long storage period.
First, start by dismantling the cutting system that is fitted to the brush cutter, then clean and oil it to prevent rust.


How best to store the various cutting tools?
Let us now look at the correct storage procedure for both line and metal blade cutting systems.
Maintaining the line cutting system: The lines in brush cutters need a good amount of moisture to maintain their elasticity.
In order to have a line immediately ready for use at the beginning of the next season, it should be completely removed from the reel and stored in a container filled with water and covered with a lid.
Maintaining the blade cutting system: To best preserve the blade cutting system, on the other hand, the cutting unit must be removed and cleaned.
Check for damage and apply oil for protection.
4.5 Cleaning the machine
We have already talked about the importance of always cleaning the brush cutter after cutting sessions in order not to accumulate residue and scale from cutting.
Before winter storage, cleaning is even more important and must therefore be carried out more precisely and thoroughly.
4.6 Winter storage
We have now reached the last stage, which is the storage of the brush cutter.
Store the machine in a dry, sheltered place, do not place it directly on the ground, keep it away from heat sources and, if possible, cover it with a protective sheet.
5. Storage of battery-powered and electric brush cutters
While in the previous chapter we saw all the steps and tricks for storing combustion engine models, we now look at how to properly store battery-powered models for the winter.
We can summarise battery-powered brush cutter storage in:
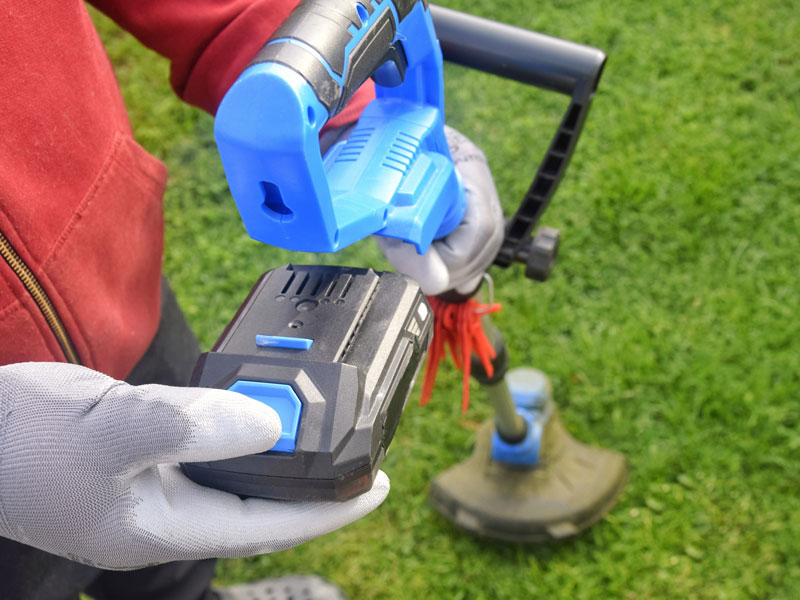
- Removing the battery: Firstly, disconnect the battery, keeping it between a precise temperature range, which is indicated in the battery manual.
Avoid direct exposure of the battery to sunlight or humidity. - Stowing the charger: The charger must then be disconnected from the socket.
It should be stored in a dry place with temperatures that are neither too cold nor too hot. Again, the ideal temperature range is indicated in the manual; - Always follow the instructions in the manual, if the machine has not been used for more than 3 months, tcharge the battery again.
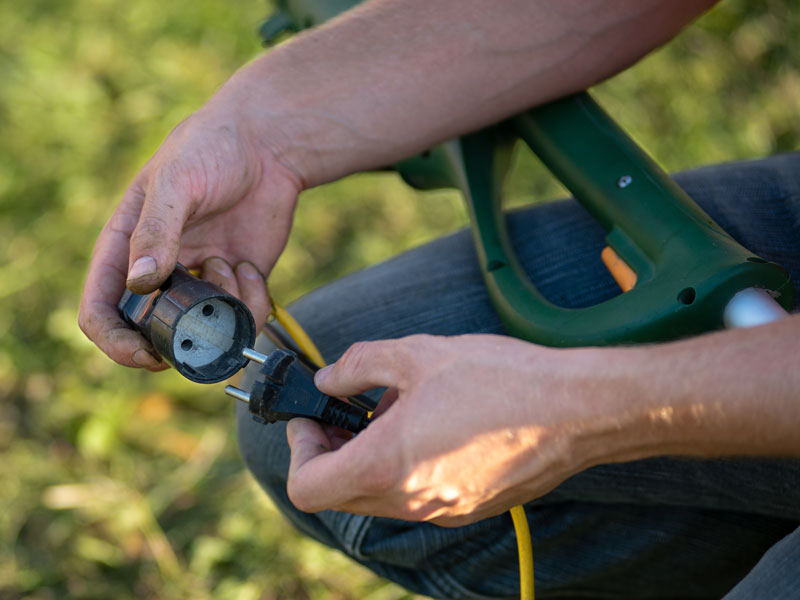
Finally, storing electric models is even easier and faster. Simply unplug the power plug and secure the cable to the brush cutter.
Once this operation has been completed, the machine can be stowed away, always ensuring that it is properly cleaned.
6. Maintenance components
Which tools should be used for maintenance work? How to use them correctly?
In this chapter, we examine all the equipment that is required for maintenance:
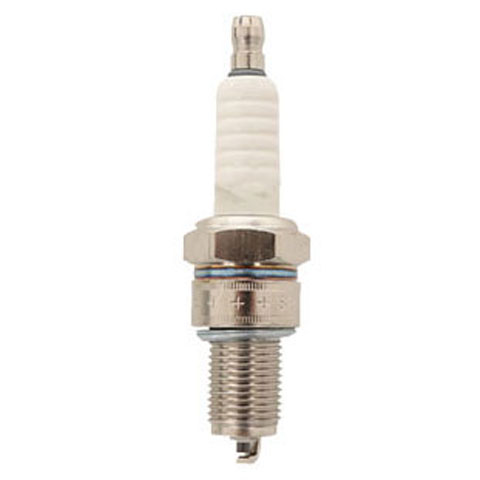
- Spare spark plug;
- Mixture engine oil;
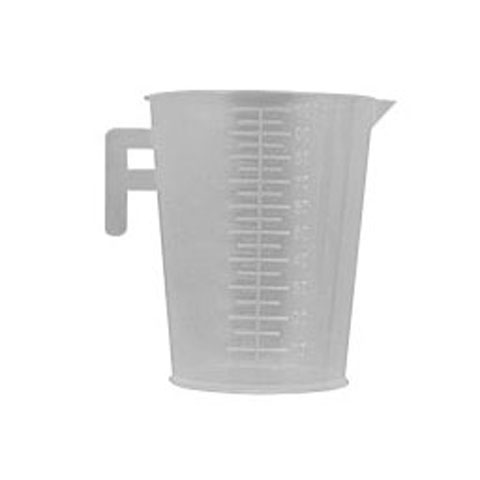
- Graduated measuring cup;
- Oil for 4-stroke engines.


7. Frequently asked questions from our customers
Grease the bevel gear approximately every 20 working hours.
An average brush cutter has an engine capacity between 28 and 50 cc.
Smoke emissions can be caused by an incorrect fuel mixture or too much oil.
According to the features of the model, the maximum diameter must be complied with; for petrol models, a 2.7 mm diameter line is generally recommended.
The brush cutter must be stored in a hanging position.
The main signs include starting difficulties, power drops, increased fuel consumption and excessive smoke.
If the air filter is dirty, the efficiency of the engine decreases.
Use a wire brush and soapy water to remove debris.
Soaking in water allows the line to regain moisture and elasticity.
The blades are used to cut thick weeds and very dense lawns.


