What is pellet? What is it used for and how can it be made? In this guide we will cover all these aspects and see the correct procedure for making it.
The Complete Guide about how to Make Wood Pellets at Home
by the Real Experts of Wood Cutting Machinery
Until few years ago it seemed impossible or even unthinkable, but today DIY pellet are now extremely quick and easy to make.
What is pellet?
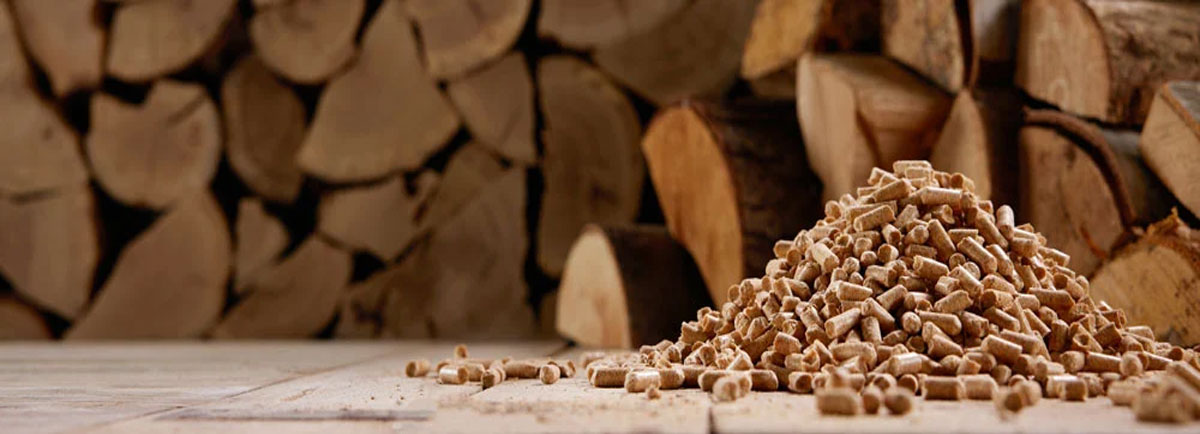
The term “pellet” has now become commonly used in our vocabulary, yet there is much conflicting information about it. So, let’s try to clarify its meaning. First of all, it should be clarified that the word “pellet” refers to the cylindrical shape of a small product that is very similar to a cork due to its shape.
But why use pellet when a large quantity of wood in its natural state can be easily found in nature? The answer lies in a few, but indisputable advantages:
- The first thing to consider is the problem of waste disposal for large wood-processing companies. Sawdust, in fact, is a natural material, but in large quantities it represents a real ecological disposal problem, not to mention the cost of transporting it;
- A further advantage comes from the fact that wood pellets help reducing the number of trees that have to be felled for firewood production;
- Another great advantage is that its degree of pollution during combustion is the lowest ever and does not damage the ozone layer;
- Furthermore, pellet is also more convenient and easier to handle an In fact, using pellet as a heating source allows the user to save efforts related to a woodshed thus saving space. Indeed, pellet takes up only the 1/5 of the space of firewood and are packaged in handy 10-15 kg bags.
Here is an easy chart where pellet is compared with different types of fuel, where P.C.I. means lower calorific value, i.e. the calorific value that does not take into account the latent heat of water evaporation. Simply, the part necessary for the water evaporation contained in the fuel is removed from the total energy released by combustion.
| Type of fuel | Unit of measurement | Heating output (P.C.I) | |
| Wood pellet | Kg | 4.400 Kcal/h | |
| Firewood | Kg | 4.400 Kcal/h | |
| Methane | L | 4.400 Kcal/h | |
| Diesel | Kg | 4.400 Kcal/h | |
| L.P.G | Mc | 4.400 Kcal/h |
Key points about pellet production:
For a correct pellet production it is important to know and follow a few key points in this regard:
- Moist: To be thermoformed, each material must have a specific moisture content, which in the case of wood varies between 10 % and 14 %;
- Particle size: The particle size of the material to be pelletised must not exceed 1 cm.
- Hardness: Wood with different hardnesses behaves differently during their processing, so it is essential to find the optimal die compression to obtain a quality pellet;
- Die compression: The die compression is defined as the ratio of the material to its dwell time in the die. The greater the hardness of the material, the lower the die compression; on the other hand, a lower hardness of the material corresponds to a higher die compression.
A further important aspect of pellet is the ash content: unlike firewood, which has a water content higher than 40%, which causes its calorific value to drop drastically, good quality pellet has ash contents as low as 1% of total weight and 10% of water. What does this mean?
This means that the machine burns it, thus the user doesn’t have to clean or refuel the pellet machine too much frequently.
Let’s take a look immediately at the most efficient material for making a good-quality, high-calorific value pellet.
How to start wood pellet production at home?
The process of making your own pellets comfortably at home is very simple and consists of 3 steps:
- Shredding branches and green wood
- Drying
- Pellet production
In addition to having the raw material, i.e. wood waste, a number of tools are required:
- Garden shredder
- Moisture meter
- Glue or binder
- Wood pellet mill
CONTENTS
1. Wood shredding
Very often pellet production is approached in a very superficial way and people mistakenly think that, wood, paper, and even sawdust could be used to produce pellets, as long as it is compressed! However, this is only partially true.
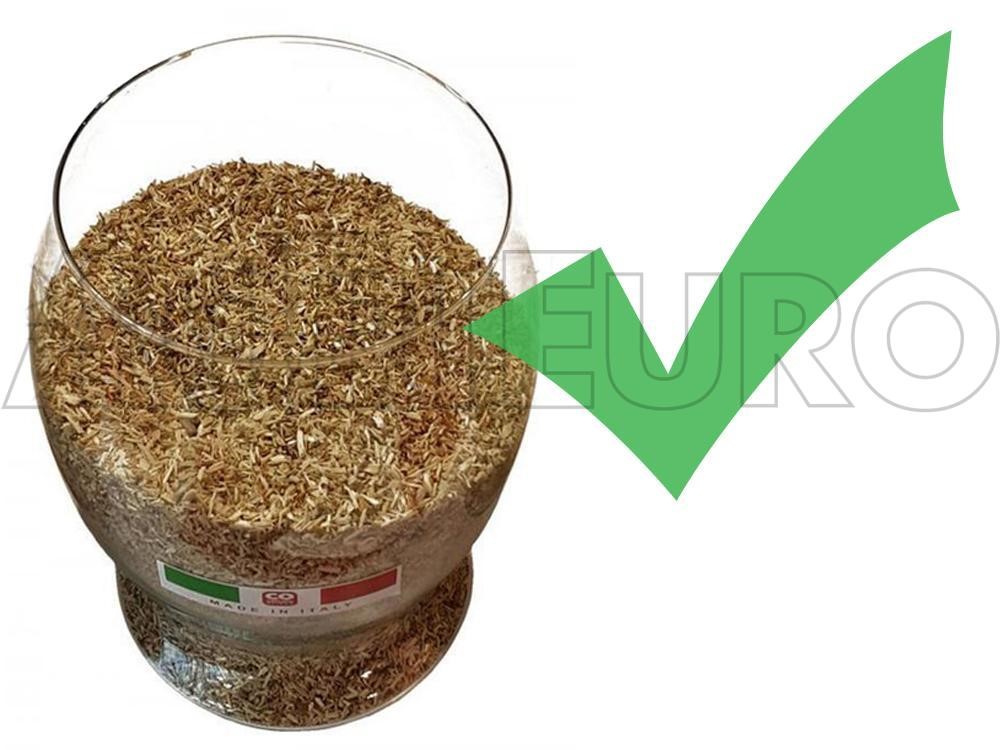
For a good pellet, both in terms of compactness of the cylinders and heating value, the perfect raw material is wood chips from pruning waste of any type of wood.
A pellet made from virgin wood chips will have a better calorific output than a pellet made from sawdust. It will also be more resistant due to the fact it doesn’t crumble during storage. One of the major aspect to assess the quality of pellet is to see how many cylinders can be broken as soon as they are produced.

Waste from branches and green wood should be shredded with a wood chipper, to be reduced to 2-3 cm wood chips. This first wood chips output is still not suitable enough for the final goal, as it is too big to be processed by the wood pellet mill and it needs to undergo a second shredding to bring the size of the chips down to around 8 mm. It is necessary to choose a garden shredder that provides for the possibility of fitting a screen with holes of this size.
2. Choosing a garden shredder
Electric garden shredder 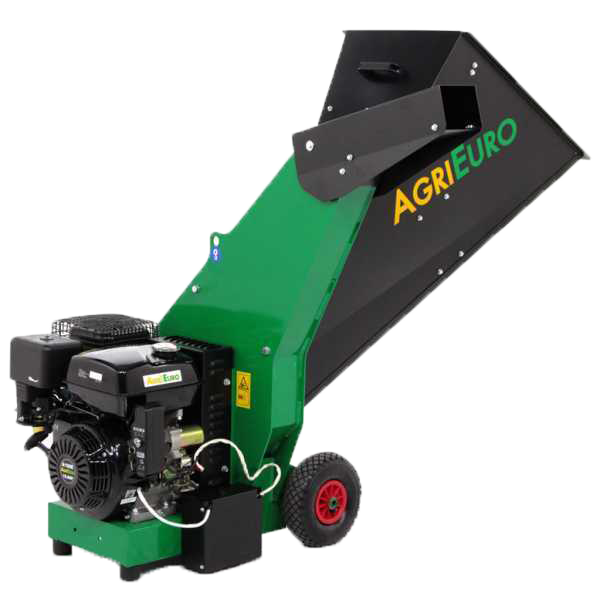
Petrol garden shredder 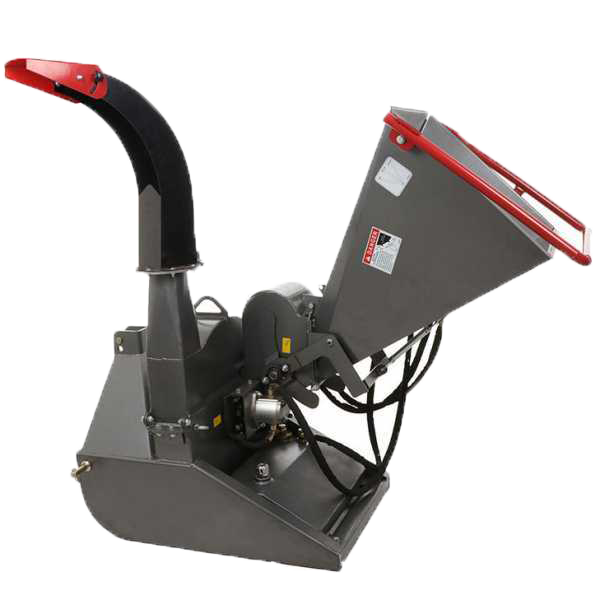
Tractor driven garden shredder
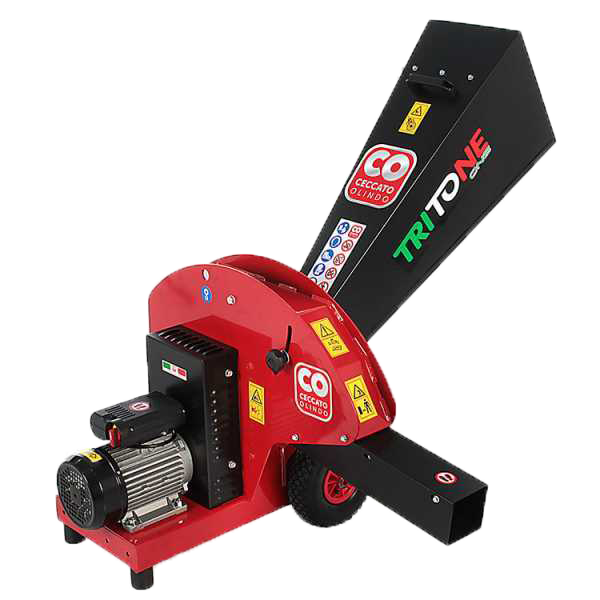
There are many types of garden shredders on the market, which differ in terms of power supply and wood shredding systems. For good-quality, compact wood pellets that do not crumble, a small, regular wood chips less than 10 mm in size is the most suitable for this purpose. For this reason, the ideal choice would be to have a wood chipper equipped with a sieve with 8 mm holes. More than 90% of the garden shredders available on the market produce a wood chip size of 2 to 3 cm. Among the few that represent an heavy-duty and truly efficient solution for producing wood chips of this size are, by way of example, garden shredders branded by AgriEuro or Ceccato Olindo.
*We suggest you take a look at the Best Garden Shredder Purchasing Guide.
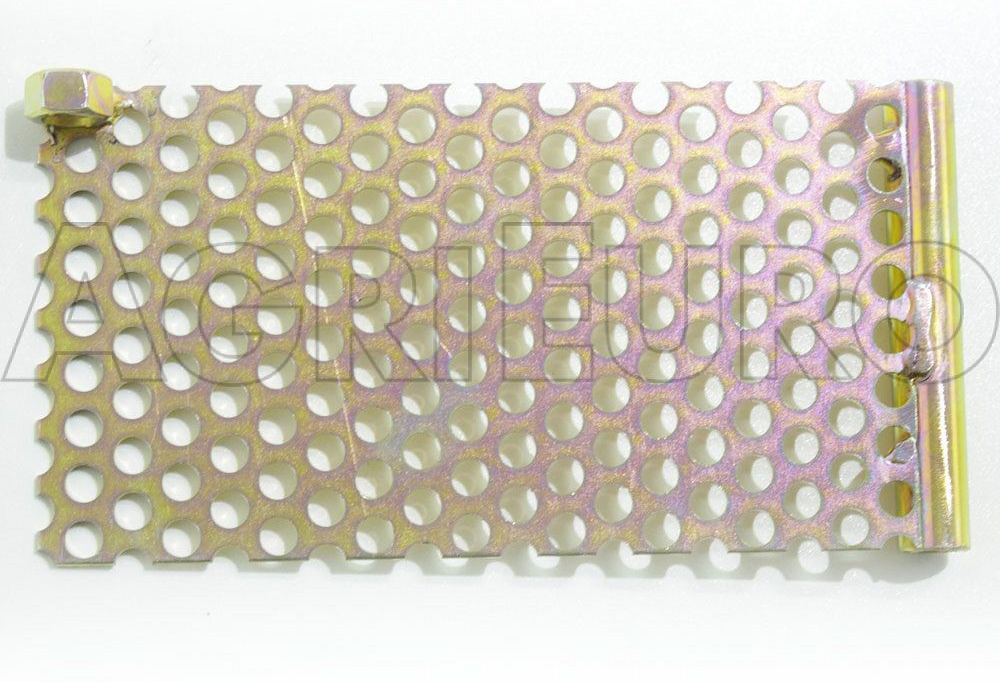
| Tip: You already own a garden shredder, but does it have interchangeable sieves? Don’t worry, you can always buy a wood chipper, which will reduce the wood chips produced to the required size. |
3. Drying
This second stage involves drying the wood chips. Even though it is the second step here, this process can also be done between the first and second shredding. To dry the wood chips, no special tools are needed – just leave them out in the open under the sun.
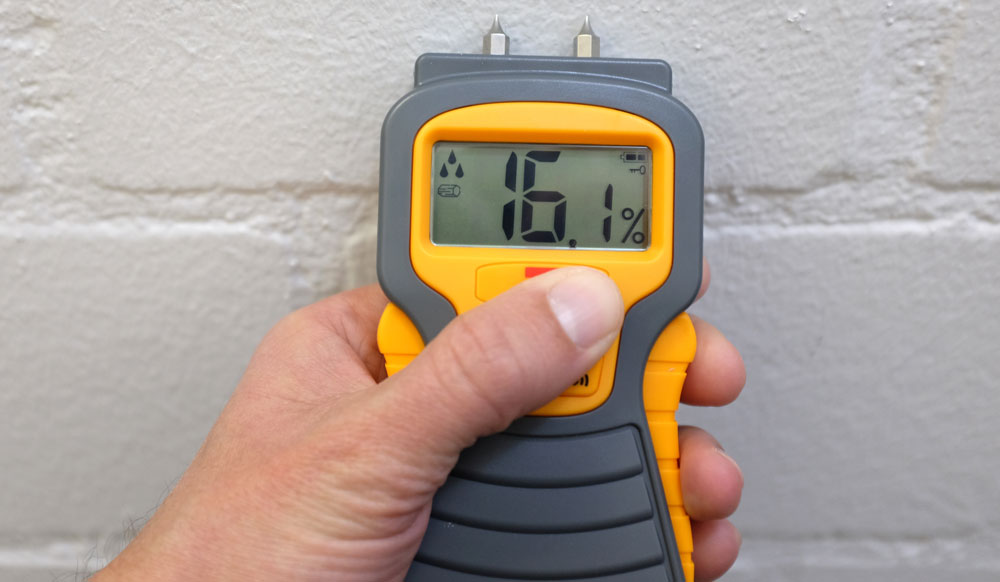
How do we know when it is the right time to move on to the next step? How do I measure the moisture content of the wood chips? Easy! A small but useful tool will help us: the hygrometer or moisture meter.
The hygrometer is used to measure the moisture content of the biomass to be processed as pellets. The ideal moisture content is approximately 10% -14% (regardless of the material type and size). We therefore recommend that you check the humidity in order to produce wood pellets with the appropriate characteristics.
4. Preparing the pellets
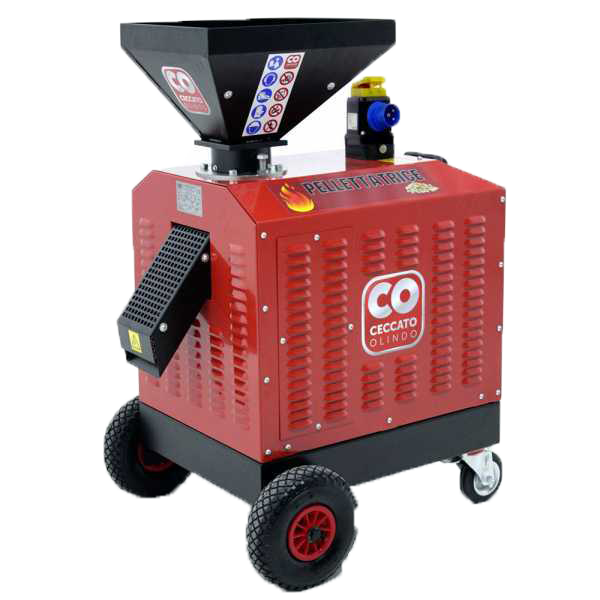
We are finally ready to make our pellets. In order to do this, we must have a good wood pellet mill, i.e. a machine that compresses the wood chips through a mechanical process.
There are several attempts at self-made machines scattered around the web, which although they might seem interesting, do not take into account certain factors such as safety, energy efficiency and maintenance needs. In addition, the smooth operation of the machine will also depend on the material fed into the die plate. Contrary to popular belief, fine sawdust from a wood router is not suitable, nor are chips that are long, thick and irregularly sized.
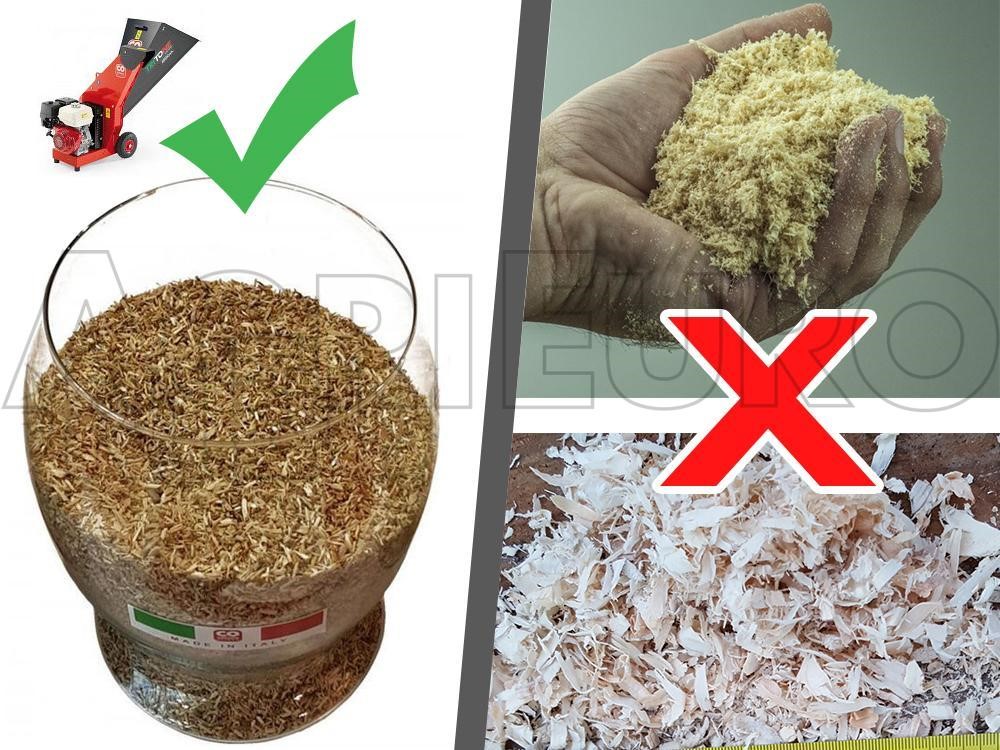
Wood chips from pruning waste and clean wood are by far the best. Among the various types found in nature, we can mainly divide wood into two major categories: with and without resin. The most common woods such as beech, birch, poplar, holm oak and oak have a low resin content and can therefore be supplemented with wood from needle-shaped plants such as pine, fir and cedar, generally in a percentage of around 40%, to ensure perfect compaction by the wood pellet mill, i.e. the release of pellets at least 2 cm long from the die plate. In addition to the types of material mentioned above, it is recommended to use a glue for all types of wood with a low resin content that require a binder to be compacted, which in turn increases the hourly output of the wood pellet machine. Although there are various more or less natural solutions ranging from the use of maize or oil residues, it is best to use a specific glue for pellet production to be added in a percentage of between 0.5 and 2%, depending on the type of wood used.
| Tip: using a little glue, even on wood with resin, can be useful to raise the humidity content. |
5. Choosing the wood pellet machine
One of the reasons for making DIY pellet at home is the need to save as much money as possible on the cost of wood pellets for domestic needs.
| Tip: using sawdust between the rollers and the die plate, during the first few minutes of the process, reduces the screeching noise. |
The choice of the wood pellet mill must be based on economic principles. There are several wood pellet machines on the market, which differ from each other in the type of power supply:
- Wood pellet mills with 220 V single-phase electric motor
- Wood pellet mills with 400 V three-phase electric motor
- Wood pellet mills with tractor PTO
- Wood pellet mills with petrol engine
Single-phase wood pellet mills 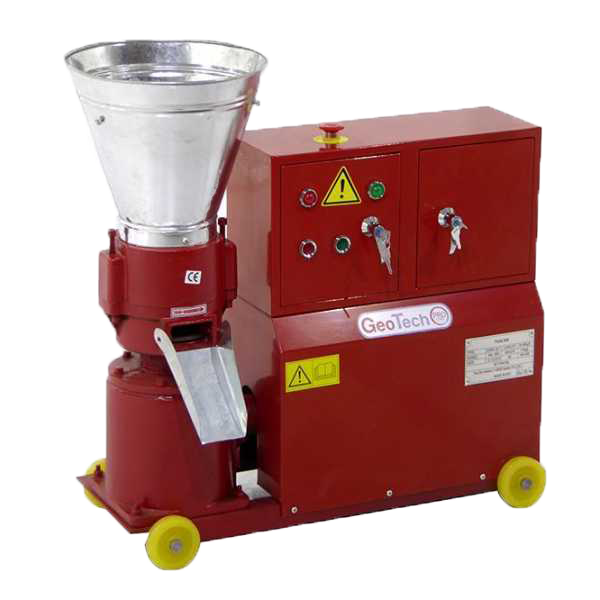
Three-phase wood pellet mills 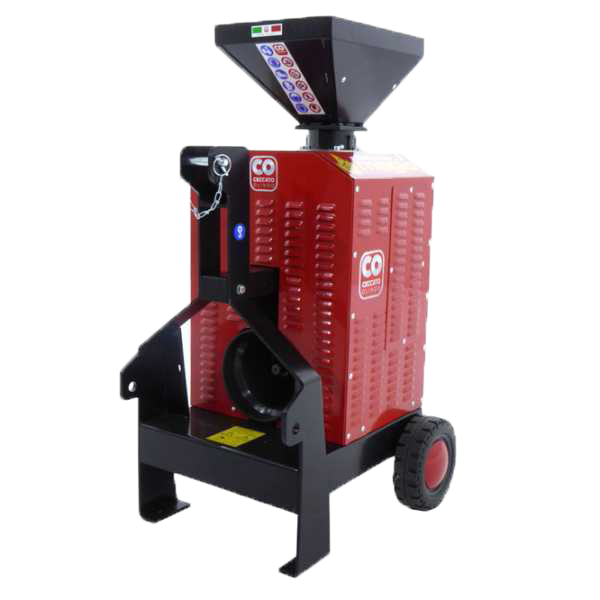
Tractor driven wood pellet mills 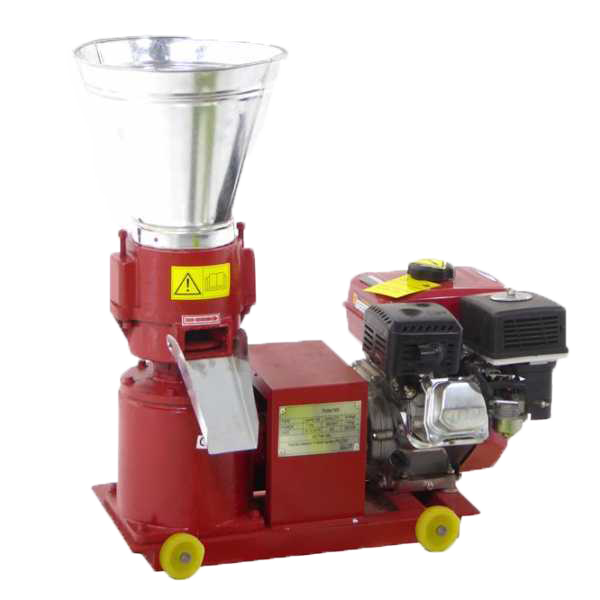
Petrol wood pellet mills
For a stictly domestic use, and with the possibility of using the electricity network, we recommend to move towards electric wood pellet mills (single-phase or three-phase depending on the KW load in the electricity supply). An electric motor will always have lower running costs than wood pellet mills equipped with a petrol engine or a tractor PTO.
Single-phase wood pellet mills have a maximum power of 3 HP and an hourly output that ranges, depending on the type of machine and the wood chosen, between 20 and 60 Kg/h; these figures increase considerably for wood pellet mills with three-phase electric motors that can reach powers between 5 and 120 HP. In fact, the hourly output varies between 50 and 90 kg/h up to more than 110 kg per hour for 10Hp motors.
We finally have everything we need! Once the wood pellet mill is switched on, making pellets will be really easy. If the machine does not produce anything for the first ten minutes, or if you hear screeching or strange noises, don’t worry! Nothing has broken! The machine is heating up and must have time to heat up the die plate. In this case, to reduce the noise, the use of some sawdust, to be placed between the rollers and the die plate, proves be very useful!
| Tip: during the first few minutes, the machine produces not usable wood pellets. In order not to waste wood chips, first mix them with sawdust and then pour them into the machine hopper. |
Making your own pellets has many benefits:
- Recycling of wood chips
- Respect for the environment
- Less space taken up by bags of pellets
- Fuel savings
- Personal control of the type of wood used to make the pellets
Pellet alternatives:
But if someone can’t use pellets and can’t even produce them themselves by following the steps listed above, do they have viable alternatives?
There are alternatives on the market, such as a woody biomass fuel called “wood chips”. The process of chipping wood and its waste yields a product that can be used to fuel boilers and several types of generators.
However, the use of wood chips requires large automatic feeding systems due to its size. Also the high water content does not allow the use of simple but very expensive and complex combustion chambers.
We can therefore conclude that pellet in their uniqueness provides a truly unique source of heating.