

Maintenance guide for leaf blowers and vacuums, with step-by-step instructions on how to perform maintenance and repairs.
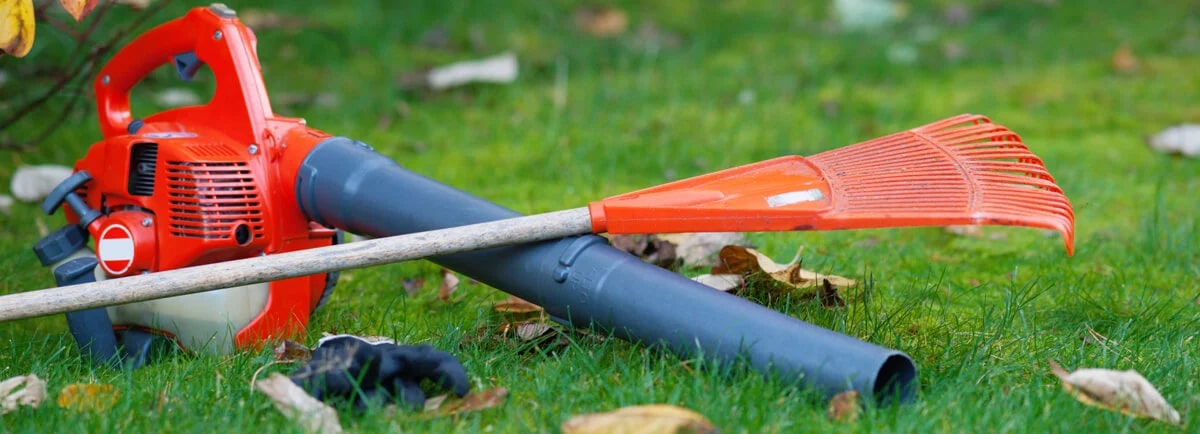
Leaf blowers are the main tools for removing leaves from lawns and gardens.
During autumn, leaves falling from trees can quickly accumulate on lawns, driveways and patios, creating clutter and also hindering proper water drainage.
But their use is not limited to this, they can also be used for other cleaning tasks, such as removing sand, dirt accumulations from garden work, and even a light layer of snow.

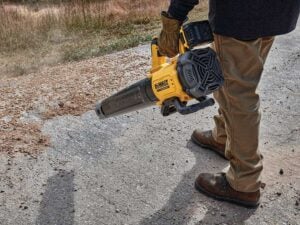

Available in petrol, 230V electric and battery-powered versions, they require constant maintenance to ensure optimum performance and a long service life.
But what maintenance work do they require?
Which parts are most subject to wear and how best to preserve them?
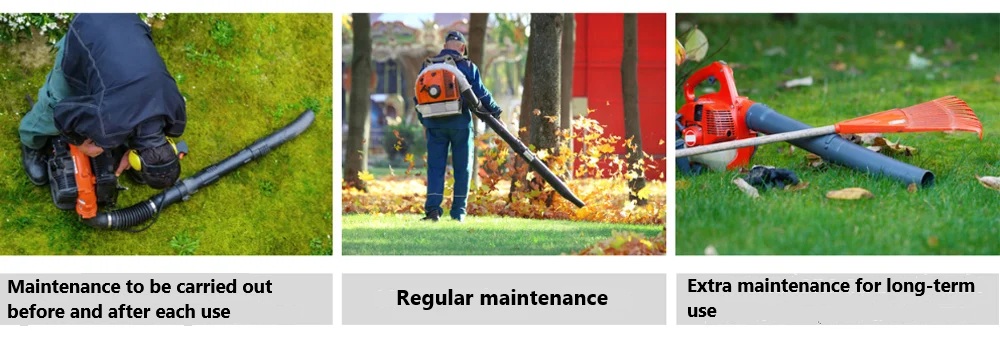
In this leaf blower maintenance guide, we will go through all the necessary operations to keep the leaf blower efficient at all times, dividing them into three different maintenance stages:
- Maintenance to be carried out before and after each use to ensure that the blower is always ready for use and to prevent breakdowns due to residue or dirt build-up;
- Routine maintenance, to be carried out periodically to preserve the proper functioning of the engine and mechanical parts;
- Special maintenance for prolonged inactivity, useful to protect the blower during inactivity and ensure it is ready when needed.
- Specific maintenance work for electric and battery-powered models.
There will also be an in-depth chapter in the guide for maintenance operations specific to battery-powered models.
Despite the fact that this is the lowest maintenance category, given the absence of the combustion engine and all its various components, it still requires targeted maintenance.
We will look at how to take care of the battery, how to properly store it during periods of inactivity and how to optimise the performance of your cordless blower-blower to prolong its life and improve its efficiency.
CONTENTS
1. Maintenance before and after each use
To ensure that the blower is as efficient as possible, it is important to carry out certain check and maintenance operations both before and after each use. These measures prevent the build-up of dirt and ensure that the motor and mechanical parts operate smoothly.
So let’s see what the main interventions are for this first maintenance phase:
1.1 Checking the Condition of Components
Before using the blower, check that all components are not damaged.
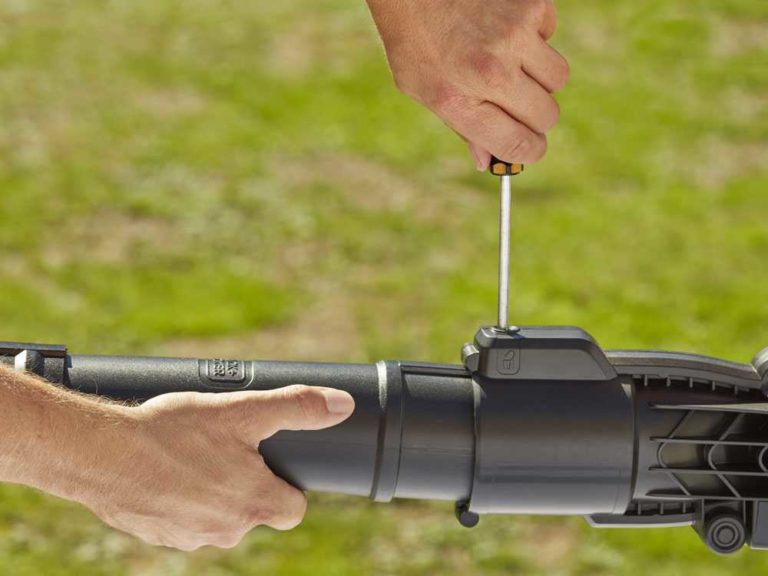
Then, another important operation to be done before and after each use, is to check the condition of the blowing tube; cracks or obstructions in the tube can reduce the power of the air flow, compromising the effectiveness of the blower.
What to check?
- Before starting the blower, check that the tube is secure and free of cracks;
- After use, remove any leaves or debris that might obstruct airflow.
1.2 Cleaning the suction grids
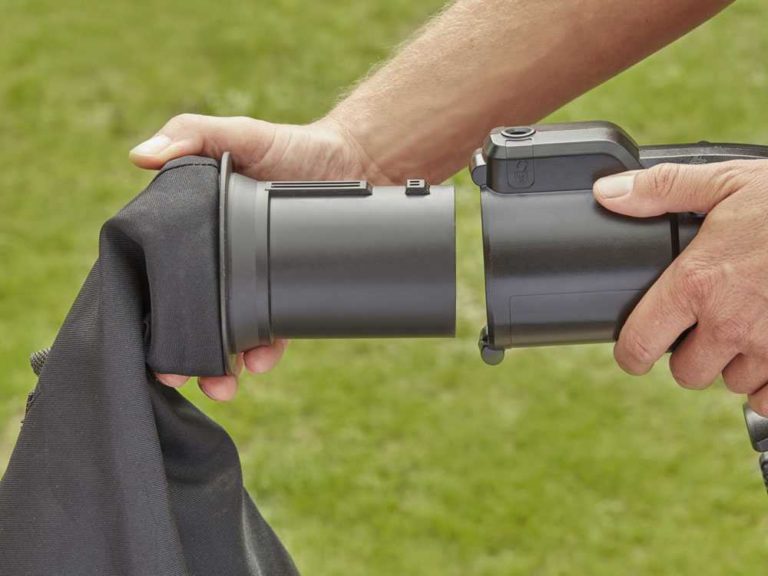
Before discussing the cleaning of suction grids, it is important to make a distinction between the two main types:
blowers and vacuum cleaners.
1.2.1 The Difference Between Blowers and Blowers
Both are used for cleaning gardens and outdoor spaces, but with one big difference:
- Leaf blowers are designed only to blow away leaves, dust, sand and debris.
Their main function is to generate a powerful flow of air that pushes debris away from the area to be cleaned, but without collecting it. - Blower-vacuum cleaners, on the other hand, combine the functionality of a blower with that of a vacuum cleaner.
In addition to blowing away debris, they can also vacuum it up, collecting it in a collection bag.
This makes them particularly useful when you need to completely remove leaves, grass clippings and other small debris, not only by moving them, but also by collecting them neatly for disposal.


Maintenance of the intake grilles therefore only concerns the vacuum cleaners, as it is through these grilles that air and debris are sucked into the engine. These can easily become clogged with dust, leaves and small debris, reducing the efficiency of the airflow and causing the motor to overheat; to avoid this, it is important to clean them regularly.


How to clean grids?
- Make sure the blower is switched off and disconnected from the electrical outlet or the battery is removed;
- Using a soft brush or a dry cloth, remove dust and debris from the suction grids;
- For more thorough cleaning, use compressed air to remove accumulated dirt;
- If necessary, wash it with mild soap and water, making sure it is completely dry before reassembling it.
1.3 General Cleaning
Last but not least, there is the general cleaning of the blower.
Accumulations of dust, leaves and debris can impair engine cooling and cause mechanical problems.
- After each use, clean the blower with a dry cloth and/or an air compressor;
- Avoid using water or aggressive cleaning agents, especially on electrical parts.
2. Routine Maintenance

In addition to the checks to be made before and after each use, regular maintenance is also necessary during the season.
We can summarise the main routine maintenance tasks in:
- Checking, cleaning or replacing the air filter (for internal combustion models);
- Inspection or replacement of spark plug (for internal combustion models);
- Fuel level control (for internal combustion models);
- Cleaning of air intakes (for internal combustion models);
- Checking the tightness of screws and bolts.
2.1 Checking or replacing the air filter (for internal combustion models)
A clean air filter improves engine performance and reduces fuel consumption.
In fact, having a dirty or clogged air filter reduces air flow to the engine, leading to increased fuel consumption and even a loss of power.


First visually check the condition of the filter and clean it if it is excessively dirty.
If the filter appears heavily soiled or damaged, replace it.
How to clean the air filter?
Checking and cleaning the air filter requires very specific steps, which vary depending on whether the filter is made of foam or paper. Let’s look at the main steps for both.
Foam filter:
- Remove the protective cover mounted above the filter;
- Wash the filter with soap and water;
- Dry it with a clean cloth or better still with a jet of compressed air, so that any excess oil is also removed;
- Finally, the filter and protective casing must be refitted.
Paper filter:
- Remove the protective cover mounted above the filter;
- The latch that holds the filter in place must be lifted;
- Clean it with a jet of compressed air;
- Refit the casing, ensuring that it is correctly positioned in the machine.
2.2 Checking or replacing the spark plug (for petrol models)
Just as important as checking the air filter is checking the spark plug.
Regular maintenance of the spark plug is important to ensure that the engine runs properly.
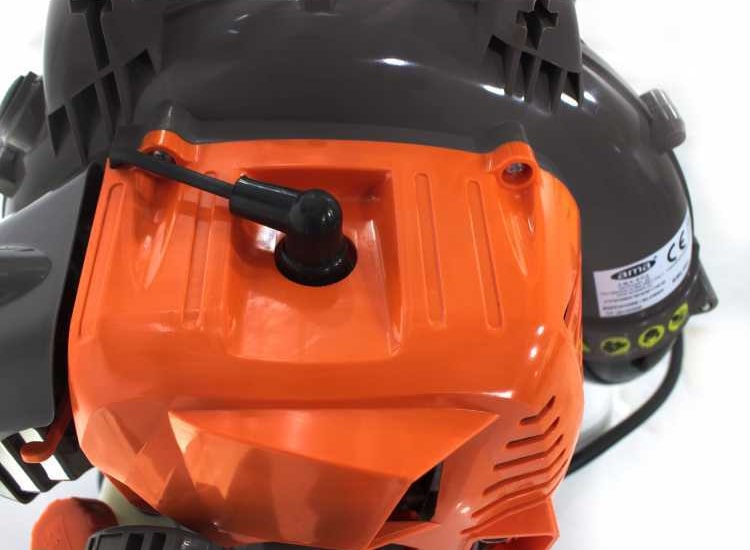

What to check at this stage?
First of all, it must be checked whether the spark plug needs to be replaced or simply cleaned.

How is the candle cleaned?
Fouling must be removed with a brush with metal bristles and the area around the electrodes must also be thoroughly rubbed.
For even more thorough cleaning, it can also be wrapped in a cloth moistened with petrol to remove any micro residues.
Once it has dried completely, the spark plug can be reinserted into its seat.
How can you tell if the spark plug needs changing?
- Light brown colour → The candle is in good condition;
- Black and sooty colour → The mixture is too rich or the spark plug is dirty; it must be cleaned or replaced;
- White or burnt electrode → The engine is working with too little mixture; it is advisable to replace the spark plug.
On average, the spark plug should be replaced every 50 hours of use to ensure efficient ignition at all times.
2.3 Checking the fuel level (for petrol models)
An insufficient fuel level could cause the engine to run erratically or even prevent ignition. In addition, the use of old or deteriorated fuel can affect performance.
How to perform it:
- Before switching on the blower, check the fuel level in the tank;
- If necessary, top up with a fresh mixture of petrol and oil (if required by the model) in the correct proportion.
2.4 Cleaning of air intakes (for petrol models)
A good thing to do regularly is also to check and, if necessary, clean the air intakes, so that air circulates freely between the cylinder fins and the engine does not overheat.
2.5 Checking Screws and Bolts
As a final step, there is a general check of the screws and bolts in the various blower assembly parts. Sudden vibrations or jolts can loosen components, causing malfunctions or damage.
What to do then for this last step?
- Check and tighten any loose screws or bolts;
- Pay particular attention to the areas near the motor and the blow pipe.
3. Extraordinary maintenance due to prolonged non-use

If the blower will not be used for weeks or even months, specific precautions must be taken to avoid damage due to inactivity:
- Empty the tank (for internal combustion models);
- Service the spark plug (for petrol models);
- Dismantle and clean the blower;
- Store it in a dry, sheltered place.
3.1 Emptying the tank (for petrol models)

The entire tank must first be emptied by pouring it into a suitable canister for proper storage.
The fuel in fact tends to deteriorate when standing still for a long time, which then creates problems for the engine and carburettor due to the deposit of its residues.
Having done this, you can then move on to cleaning the tank and emptying the carburettor.
Once the tank has been emptied, the blower must be started and left running until the petrol runs out and the car shuts down.
3.2 Spark Plug Maintenance (for petrol models)
Before leaving the blower with an internal-combustion engine unused for a long period, it is advisable to remove the spark plug from its housing, once unscrewed pour a teaspoon of oil into it, in order to prevent the cylinder from blocking, and then screw the spark plug back in.
3.3 Disassembly and cleaning

We have seen in the first chapter how important it is to clean the blower and all its various parts regularly after each work session in order to maintain their functionality over time.
Similarly, before leaving the blower standing for a long period, it is important to take it apart and clean it thoroughly so that it can be stored and maintained properly.
How to clean the blower?
- Clean all parts with a dry cloth;
- Remove leaves and dust from the engine and air intakes to prevent the engine from overheating.
3.4 Storage
We come to the last step, which is the storage of the blower.

What to pay special attention to for storage:
- Clean it thoroughly before storage;
- Remove the battery in battery-operated models and store it separately in a cool, dry place;
- In electric models, wind the cable without bending it excessively;
- Store the blower in a dry environment, away from moisture and dust;
- Avoid stacking it under other heavy objects that could deform its structure.
Why store the blower in a closed, sheltered place? Moisture and temperature variations can cause corrosion and damage to electronic components and the motor.
4. Specific interventions for electric and battery-powered models
Electric and battery-powered blowers, unlike petrol-engine models, require simpler and less frequent maintenance, but this does not mean they can be neglected.

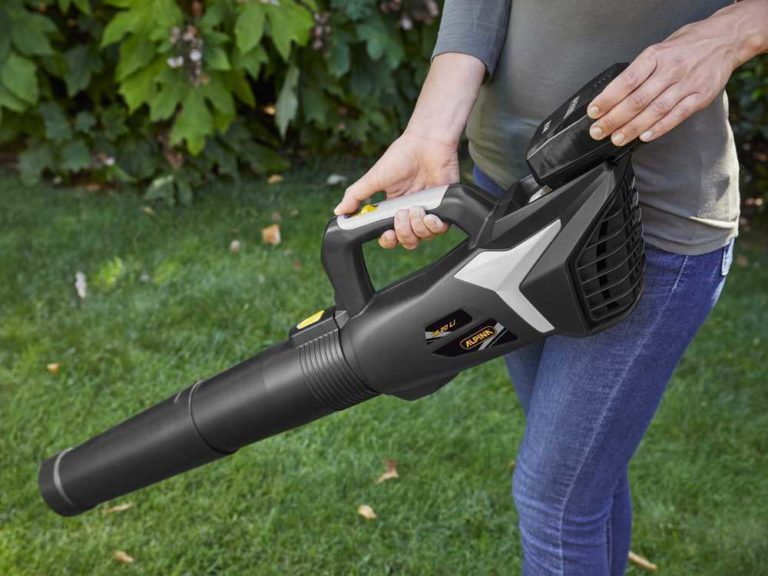
In this chapter we look at the specific maintenance work that electric and battery-powered models require:
- Power cable inspection (for wire electrical models).
- Battery check and maintenance (for battery-operated models);
4.1 Power cable inspection (wire electrical models)
With electrical models, it is essential to check that the wire is not damaged, cut or stripped, to avoid electrical hazards and interruptions in operation.
How to control it:
- Before each use, run the cable, disconnected from the mains, through your hands for any signs of wear or damage;
- If the cable is damaged, replace it immediately by contacting a service centre;
- Do not pull the cable forcibly during use and do not wind it too tightly after use to avoid damaging kinks.
When to perform this check: Perform it before each use.
4.2 Battery check and maintenance (battery models)
The battery is the heart of the battery blower, and mismanagement can significantly reduce its life.
What to do to preserve it:
- Never leave the battery completely discharged for a long time. After each use, recharge it completely;
- Always use the original charger and follow the manufacturer’s instructions for charging;
- Avoid exposing the battery to extreme temperatures, both high and low;
- If the blower is not to be used for long periods, store the battery in a dry and cool place, away from direct sunlight, and carry out recharging cycles when not in use according to the manufacturer’s instructions.
How often to checkthe battery: after each use and at least once a month to check for signs of swelling, damage or a significant drop in performance.
5. What is needed for blower maintenance?
Proper blower maintenance requires the use of appropriate tools to ensure effective and safe operations.
In this chapter, we will look at the materials, tools and clothing recommended for carrying out routine and extraordinary maintenance operations.
5.1 Materials
The materials required for blower maintenance vary according to the type of work to be carried out. Here is a list of the main ones:
- Engine oil;
- Mixture of petrol and oil (in the case of 2-stroke blowers);
- Replacement spark plug;
- Replacement air filter;
- Lubricating grease for mechanical parts;
- Detergent for cleaning the air filter;
- Microfibre cloths or cleaning rags.
Having these materials on hand allows for easy maintenance and immediate replacement of wear parts.
5.2 Tools and utensils
To properly dismantle and clean the blower, you need the right tools. Here are the most useful ones:
- Spark plug spanner for removing and replacing the spark plug;
- Set of screwdrivers (slotted and Phillips) for disassembling certain blower parts;
- Allen or socket spanners, required for dismantling engine guards;
- Brushes and soft brushes for cleaning the air filter and cooling grids;
- Mixture dispenser to properly prepare fuel for 2-stroke engines;
- Air compressor to blow away dust and debris accumulated in filters and air intakes.
Having these tools facilitates all maintenance work and allows operations to be carried out with precision and without damaging the blower components.
5.3 Clothing and PPE
Blower maintenance requires certain precautions to work safely. Wearing the right personal protective equipment (PPE) is essential to avoid injuries. Here is what is recommended:
- Nitrile or leather work gloves to protect hands from oil, grease and dirt;
- Protective goggles to avoid contact with dust, fuel or debris raised by cleaning with compressed air.


6. Frequently asked questions from our customers
Changing the air filter depends on the intensity of use of the blower and the environmental conditions in which it is used. In general, it is recommended to check it after every 10-15 hours of use and to clean it regularly.
The spark plug is an essential component for starting the engine. If your blower struggles to start, runs erratically or consumes more fuel than usual, you may need to check the spark plug.
Blower overheating can be caused by several factors, including an obstruction in the air intakes, an incorrect fuel mixture or a clogged air filter.
If the blower manifests drops in power, starting difficulties, abnormal fuel consumption or excessive smoke emissions, a complete overhaul may be necessary.
If you find that the spark plug is wet, it means that the engine is flooded, i.e. too much fuel has entered its combustion chamber, so you must pay attention to the correct starting procedure.