


A guide on the maintenance of scarifiers, with all the work to be done and also some practical tips.
A Guide to Lawn Scarifier Maintenance, completed and looked after by True Maintenance Experts.
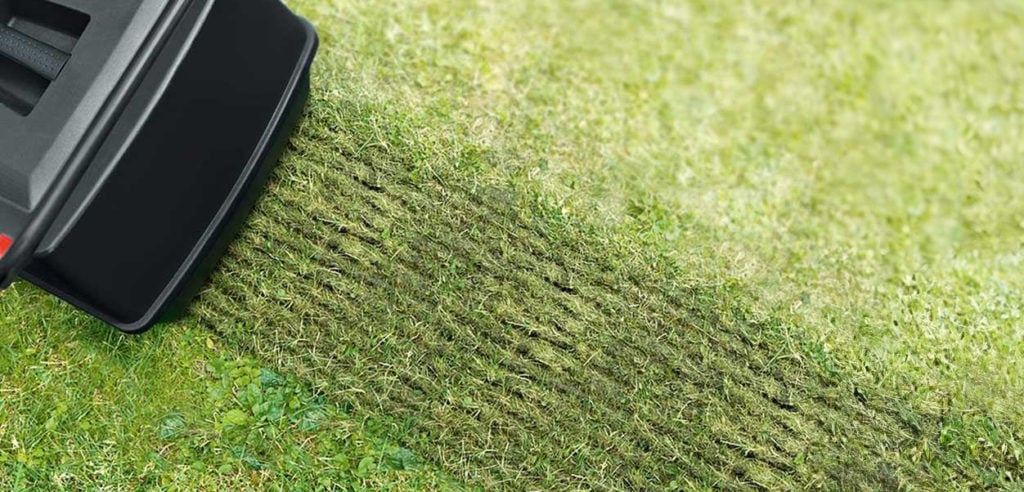
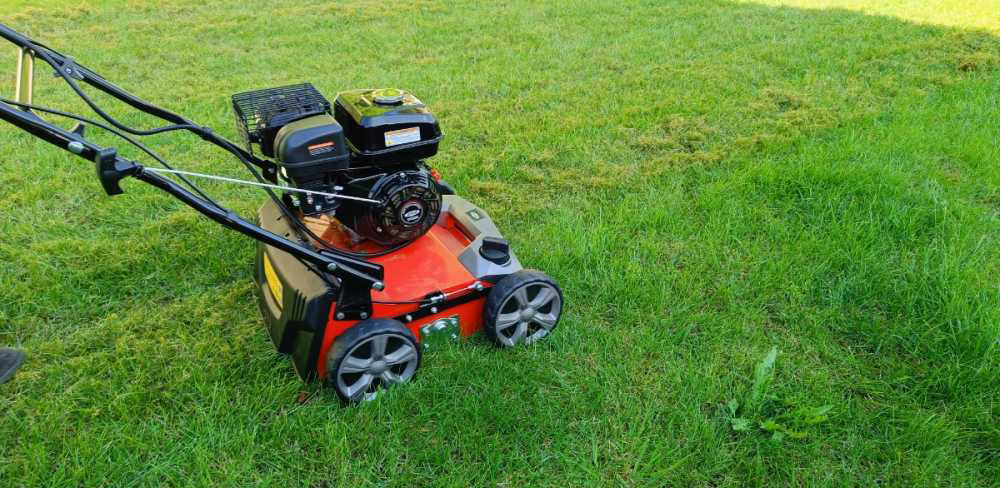
The scarifier is an essential lawn care tool, as it removes turf felt and improves the circulation of air, water and nutrients in the soil.
However, to ensure efficient operation and a long service life, proper maintenance is essential to reduce the risk of breakdowns, improve the quality of work and prevent costly repairs.
But what are the maintenance tasks for the scarifier?
Which parts are most likely to wear?
In this guide we will look in detail at all the operations required to keep it in perfect condition, dividing the season into three main stages:
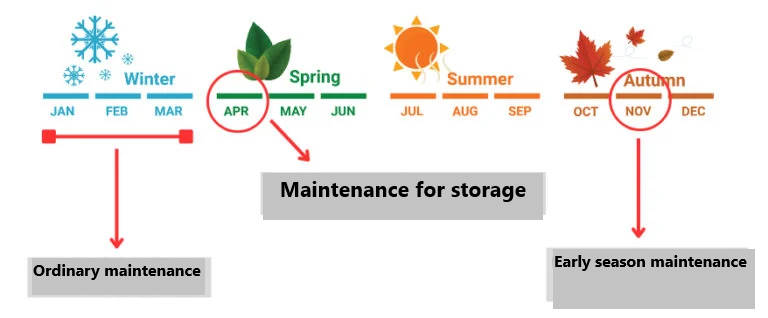
- Early season maintenance: Maintenance works to prepare the scarifier for use after the period of non-use;
- Routine maintenance: Regular maintenance and checks during the season of use to maintain optimum performance;
- Maintenance in preparation for storage: The operations to be carried out before winter storage, to keep the machine until the next season.
By following this step-by-step guide, you will be able to keep your ventilator running smoothly, avoiding hassle and extending its useful life.
CONTENTS
1. Early season maintenance
After months of non-use, it is essential to check your scarifier before you start operating it. Early season maintenance ensures that all components are in good condition, preventing malfunctions and ensuring efficient work.
Here are the main operations to be performed before starting to aerate the lawn:
- Refuelling (for internal combustion models);
- Engine oil change (for combustion models);
- Checking or replacing the air filter (for combustion models);
- Spark plug maintenance (for petrol models);
- Checking and sharpening of blades or knives;
1.1 Fuel Renewal (for combustion models)
If the engine has been stationary for several months, the fuel in the tank may have deteriorated, forming deposits that can impair engine efficiency.
We will then see in the special chapter on winter storage how to store it correctly throughout the downtime period and what procedure to follow to prevent it from deteriorating.
In the case where the fuel has remained in the tank throughout the winter, it is necessary to:
- Empty the tank by removing the old fuel;
- Clean the tank and fuel system if necessary;
- Fill with new, good quality fuel.
1.2 changing Engine Oil (for combustion models)
Engine oil degrades over time and loses its lubricating properties, increasing the risk of wear of internal engine components. Being stationary throughout the winter period along with the machine, it must therefore be replaced.
How do I do this correctly?
Here are the steps for a correct engine oil change:
- Warms the engine to make the oil smoother;
- Drains the used oil through the drain plug or the extraction pump;
- Change the oil filter if present;
- Fill with new oil, respecting the type and quantity indicated in the appropriate manual;
- As a last step, check the level with the dipstick and start the engine to distribute the lubricant evenly.
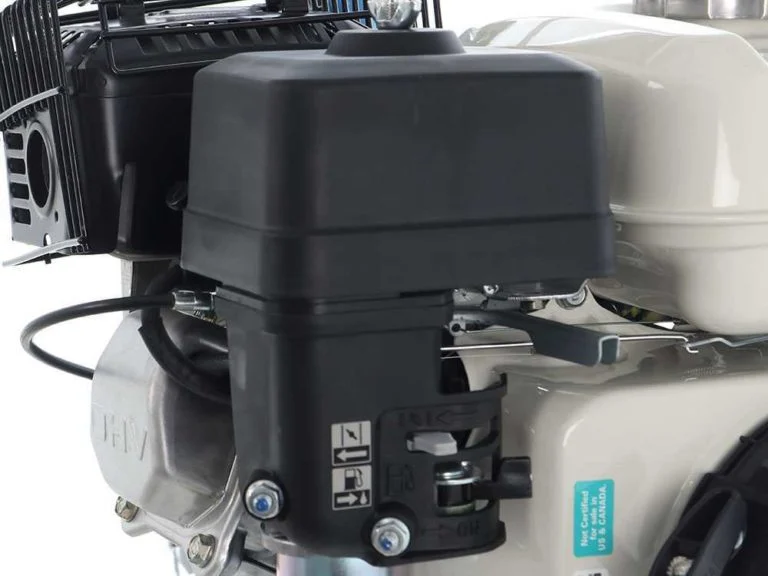
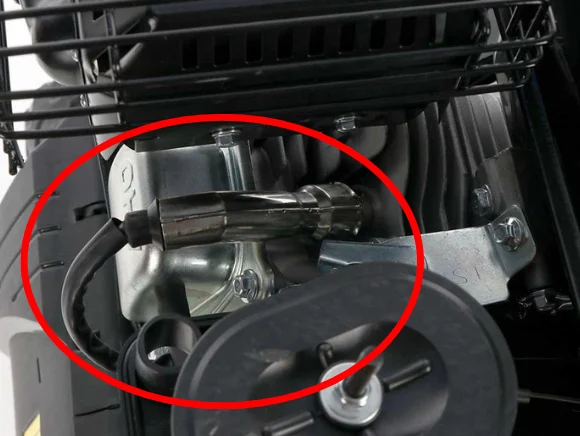
1.3 Checking or replacing the air filter (for internal combustion models)
The air filter prevents dust and debris from entering the engine, a dirty filter reduces the air flow and compromises combustion, resulting in a loss of power and high fuel consumption.
At the beginning of the season, however, it is not a given that the filter has to be replaced, especially if the car has been left for the winter properly.
Often it may only be necessary to clean it with a cloth, perhaps slightly soaked in engine oil.
If the filter is damaged or excessively worn, it must be replaced.
Let’s look at the steps for proper maintenance and possible replacement:
- First, locate the filter, which is located near the engine;
- Remove the filter guard;
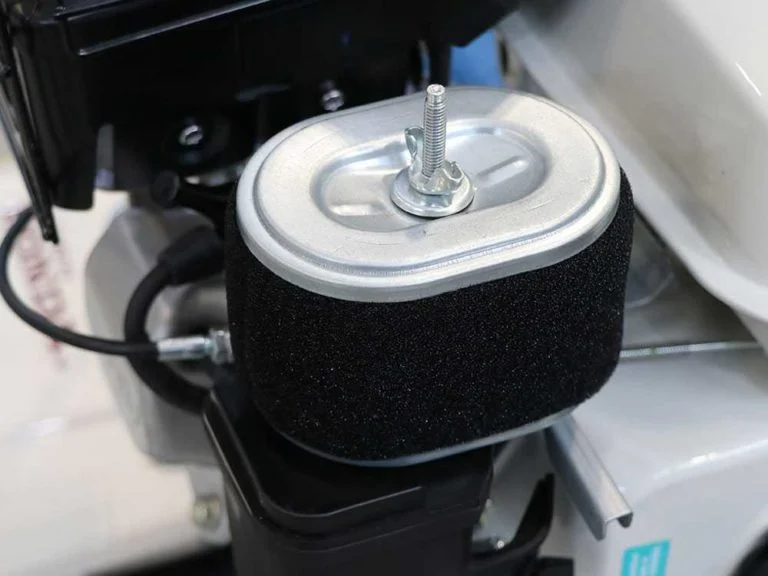
- Check its condition: if it is dirty, clean it with compressed air or a rag, if it is damaged and excessively worn, replace it;
- Finally, refit the filter correctly to prevent dirt from entering the engine.
1.4 Spark Plug Maintenance (for petrol models)
Another fundamental part of an internal combustion engine that plays a crucial role in engine ignition is the spark plug. A worn or dirty electrode is enough to cause starting difficulties and erratic operation.
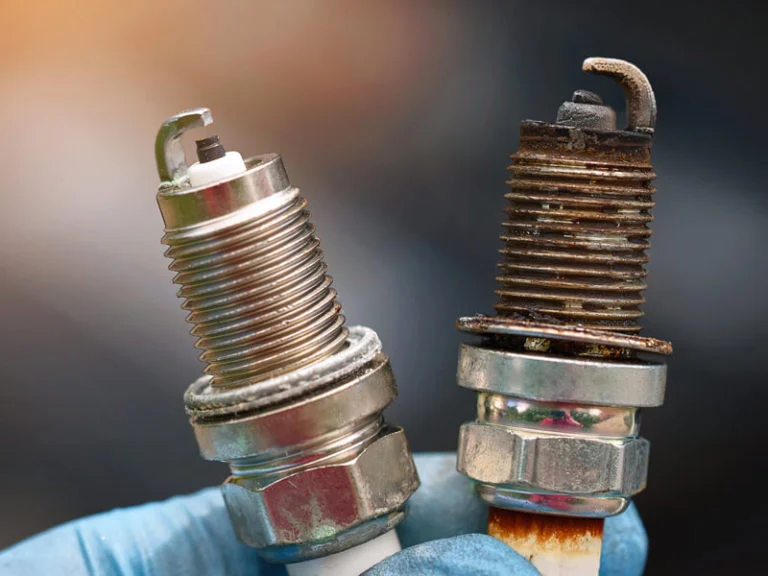
Like the air filter, after the downtime period it must be checked whether a replacement is necessary or just a cleaning.
If you find the spark plug slightly dirty or with little scale, simply clean it.
If the spark plug is found to be excessively damaged or in poor condition, it must be replaced.
Let’s look at the steps for proper maintenance and eventual replacement:
- Remove the spark plug using the appropriate jointed spanner. To unscrew the spark plug, an anti-clockwise movement is required. The spark plug, especially if it has never been pulled out, will present resistance to the action of the spanner.
At this stage, it is important to make firm, but not too vigorous movements, otherwise you risk breaking or ruining the header thread; - Check the electrode: If it is dirty, clean it with a wire brush, if it is too worn, replace the spark plug with a compatible model;
- Refit the spark plug and tighten it correctly, with the right force.
1.5 checking and sharpening the knives or blades
The effectiveness of an air cleaner also depends greatly on the quality of the blades or knives.
If they are blunt or damaged, the work will be less precise and accurate.
For this, the sharpness must be regularly checked and, if necessary, a file or grinding wheel used to sharpen them. If they are very worn, replace them.
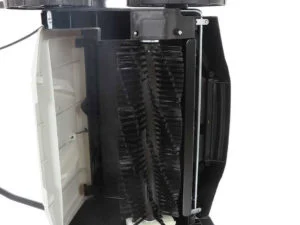
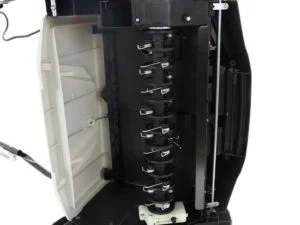
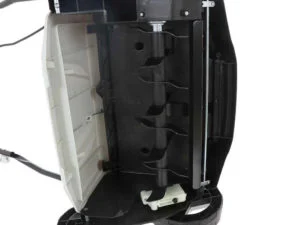
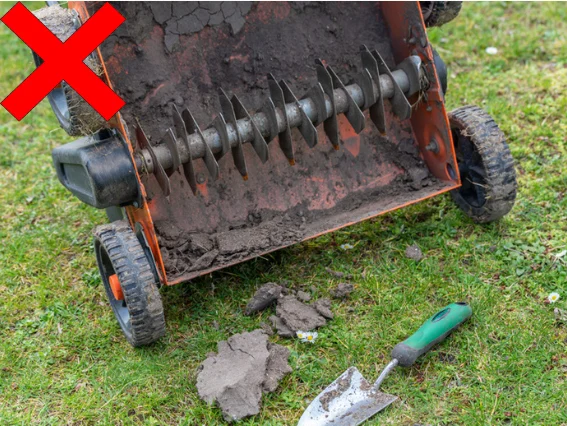
What are the main working systems of scarifiers and their functions:
- Brushes : Suitable for refreshing artificial turf, natural grass and roads;
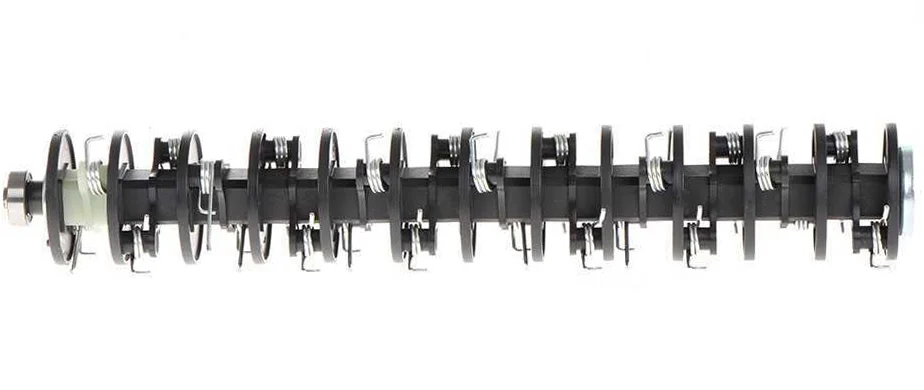
- Spring rotor. Suitable for “aerating” the lawn.
In this case, the springs pinch and tear away the felt and moss that has grown on the first layer of turf;
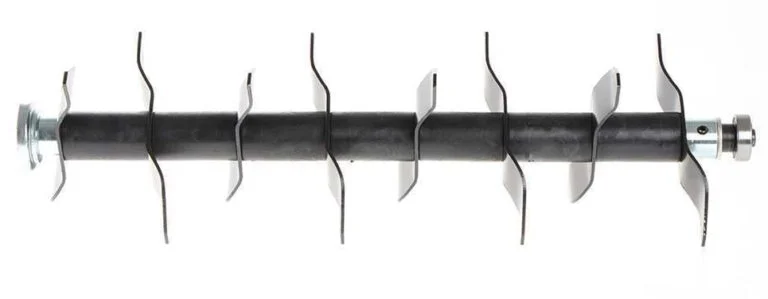
- Rotor with blades: Recommended for the “scarifying process”.
This rotor type allows a more intensive lawn care thanks to the possibility to work the soil in depth. The blades penetrate the turf vertically, radically removing moss, felt and thinning grass. This regenerates the lawn by improving oxygenation, drainage and nutrient uptake.
2. Routine maintenance
During the operating season, regular checks are essential to maintain maximum performance and prevent sudden breakdowns.
Routine maintenance of the scarifier includes:
- Cleaning after each use.
- Checking the engine oil level (for combustion models);
- Inspection of the air filter (for burst models);
- Cleaning the collection basket
- Checking the integrity of the blades or knives;
- Wheel inspection.
2.1 Cleaning after each use.
After each work session, remove grass residues or encrusted soil from the scarifier.
If necessary, you can also use a compressed air jet or a water hose (only if the model allows it).
Regular cleaning prevents harmful build-up and ensures smooth operation.
2.2 checking Engine Oil level (for combustion models)
Check the oil level regularly and top up if necessary.
Filling frequency and type of oil to be used are indicated in the manual.
How do you check the engine oil level?
To check the oil control, simply unscrew the container cap and pull out its dipstick.
2.3 inspecting the Air Cleaner (for combustion models)
Checking its condition is important to ensure the proper functioning of the engine.
A clogged filter does not allow the necessary air to reach the engine, preventing the correct ignition process.
How to clean the air filter of a lawn mower?
For optimal cleaning, simply blow it with the air from a compressor.
2.4 Cleaning the collection basket

Another task that goes hand in hand with cleaning the machine after each use is the inspection and cleaning of the collection basket.
For this step, the harvesting system must be removed, which is one of the parts most susceptible to dirt and wear from work sessions.
For cleaning a hard plastic basket, a jet of compressed air or a jet of running water is sufficient to remove accumulations of freshly cut grass and other residues.
For those in canvas baskets, however, it is important to pass the air correctly between the various micro-slots.
2.5 Checking the integrity of the blades or knives

In order to ensure effective aeration and to preserve the health of the lawn, it is essential to regularly check the condition of the blades or knives of the scarifier. After every 3-4 uses, carefully inspect the blades for chips or signs of wear.
Any deformations can compromise the quality of work, reducing the machine’s ability to remove felt and improve soil aeration.
In addition, damaged or worn blades could exert excessive stress on the engine and other mechanical components, decreasing the overall efficiency of the machine and increasing the risk of damaging the transmission.

2.6 Wheels inspection
The wheels must always be secure and smooth.
Checks the supports and axles for excessive play and lubricate if necessary.
3. Preparation maintenance for storage
When the aeration season is over, it is essential to prepare the scarifier for storage.
The main operations include:
- Thorough cleaning and removal of residues;
- Fuel discharge or use of a stabilizer (for combustion models);
- Spark plug maintenance (for spark plug models);
- Storage.
3.1 Thorough cleaning and removal of residues
Before storing the scarifier, clean it thoroughly. Use a brush, compressor or water jet (only if the model allows) to clean up any dirt.
3.2 Fuel drain (for combustion models)
Petrol oxidises and deteriorates if the car sits for a long time. Old petrol makes starting the engine more
problematic, leaves deposits that then hinder the carburetting system and can cause engine damage.
The length of time during which petrol can be left in the tank and carburetor without causing
functionality problems varies depending on factors such as the temperature of the storage location, and whether the tank is partially or completely full.
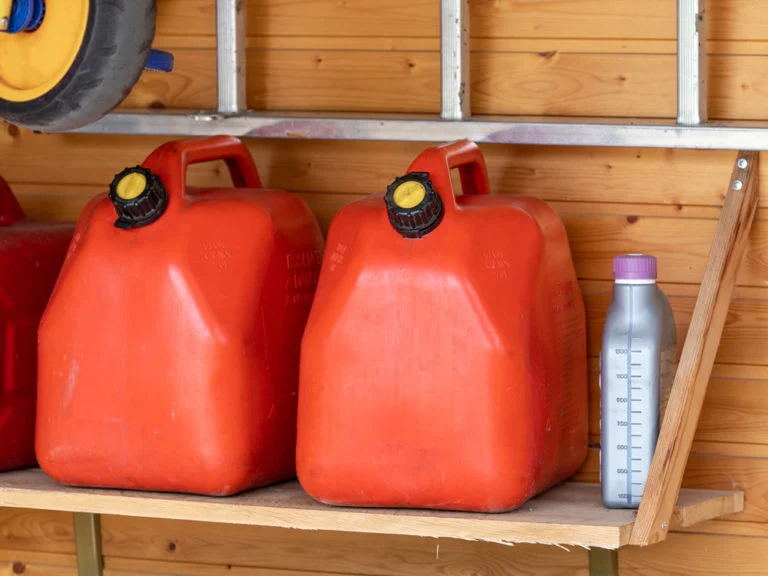
This is why it is important to drain the fuel during the storage period by emptying the tank and carburetor.
For proper storage of fuel, suitable canisters are available in accordance with the standard, to protect it from heat and UV penetration.
3.3 Spark Plug Maintenance (for petrol models)
Immediately after draining the tank, another very important operation is to perform a small maintenance step for the spark plug.
IMPORTANT: Once the spark plug has been removed, it is advisable to pour a teaspoon of oil into its housing to prevent the cylinder from blocking and then re-attach it properly.
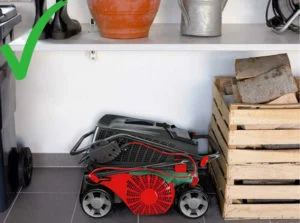
3.4 Storage
Store the scarifier in a dry place away from moisture.
If possible, cover it with a protective cloth to protect it from dust.
This ensures that they run efficiently season after season, reducing the risk of breakdowns and extending their service life.
For battery-powered models, remove the battery before storing it to prevent unintentional discharge or deterioration over time.
4. Specific interventions for electric and battery-powered models
Electric or battery-powered scarifiers require easier maintenance than petrol-powered models.
However, even for these two categories of scarifiers there are some specific operations that it is important to perform regularly:
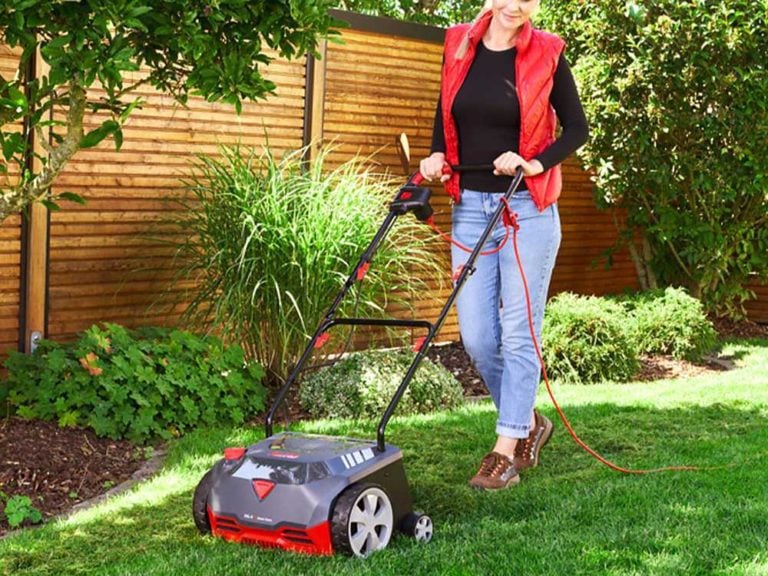
4.1 Power cable control (for corded models)
Inspect the electrical cable before each use for cuts or damage.
If the cord is worn, replace it immediately to avoid a risk of short circuit or electric shock.
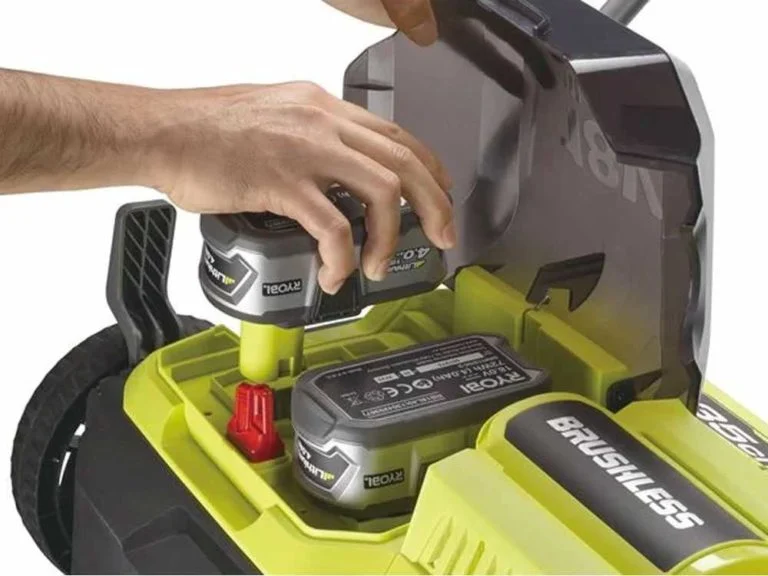
4.2 checking Battery Status
(for Battery models)
On battery-powered models, check the charge status before each use and fully charge it for maximum battery life.
Avoid leaving the battery discharged for long periods and store it in a dry place at room temperature.
4.3 Cleaning of the electric motor and air intakes
Remove dust and debris from the ventilation grilles to prevent the electric motor from overheating;
use compressed air or a dry cloth to clean the cooling openings.
4.4 checking the electrical connections and the switch
Check periodically that the electrical connections are secure and free from oxidation;
if the ignition switch shows signs of malfunction (e.g. difficulty in starting the engine), have it checked by a technician.
4.5 Comparison of maintenance between categories of scarifiers
| Operation | Petrol-driven scarifier | Electric scarifier | Battery-powered scarifier |
|---|---|---|---|
| Oil change | Yes, every 50 hrs | No. | No. |
| Checking the air filter. | Yes, regular cleaning | No. | No. |
| Spark plug maintenance | Yes, every 20 hrs | No. | No. |
| Fuel control | Yes, avoid old fuel | No. | No. |
| Cleaning engine air intakes | Yes, to prevent overheating | Yes, to prevent overheating | Yes, to prevent overheating |
| Check cables and battery | No. | Yes, power cable control | Yes, verify integrity and charging |
| Component lubrication | Yes, periodical | No. | No. |
5. Frequently asked questions from our customers
It is usually recommended to air the lawn before and after the summer.
As a rule, it is best to avoid aeration before three years after sowing the lawn.
By aerating the lawn you return oxygen to the grass and allow water and nutrients to be reabsorbed by the soil, allowing regrowth in thinning areas.
On a petrol-driven scarifier, the oil and fuel level, the condition of the air filter and the spark plug must be checked.
Clean it thoroughly, empty the tank (or add a stabiliser), lubricate moving parts if necessary and store it in a dry, sheltered place.