Comprehensive guide to the proper use of a garden shredder: what to do and what to avoid before and during operation, and how to respond to unexpected situations.
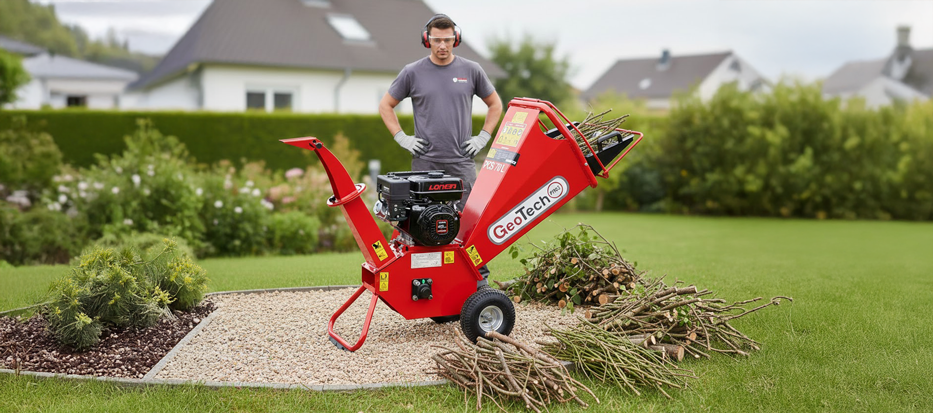
After pruning, it is normal to end up with piles of branches, leaves and twigs that take up space and seem to ‘never end’. In such cases the garden shredder can become a truly valuable ally: if used correctly, it rapidly reduces the volumeof green waste, makes the material easier to handle, and allows you to work continuously, avoiding stoppages and time lost clearing blockages.
This is the key point: the most common issues rarely stem from a “faulty” machine, but rather from minor preparation and operating mistakes that increase strain, accelerate wear, and reduce performance.
This guide provides a step-by-step overview of correct garden shredder operation, so the machine can work as intended and your workflow remains smoother and more predictable.
We will outline what to do—and what to avoid—before using the garden shredder, while it is in operation, and in the event of unforeseen issues.
CONTENTS
How should this guide be used?
Since many issues result from operational mistakes, it is helpful to clarify how to use this guide. Here you will find practical, general advice on how to use a garden shredder correctly, explained in a clear and straightforward way to help you quickly build a solid foundation—especially if you are a beginner.
However, it does not replace the manufacturer’s instruction manual. The manual is more technical and comprehensive, as it details the machine’s specific features, controls, and correct procedures—above all, all safety rules, which must be read, understood, and applied during use. Therefore, consider this guide as a supporting resource to be used alongside the manual: it adds method and general guidance, but the primary reference remains the product documentation.
Now that the purpose of this guide is clear, let’s move on to the practical part: what to do and what to avoid in order to use the garden shredder methodically, achieve more consistent shredding, and minimise jams, wear, and unexpected issues!
1. Before Beginning
The correct use of the shredder always begins before the actual start-up and use.
Positioning of the machine, preparation of the material and organisation of the work area are not secondary aspects, but fundamental conditions for the cutting system to work as it was designed to.
The points below compare the correct behaviour and mistake to avoid at this very initial stage.
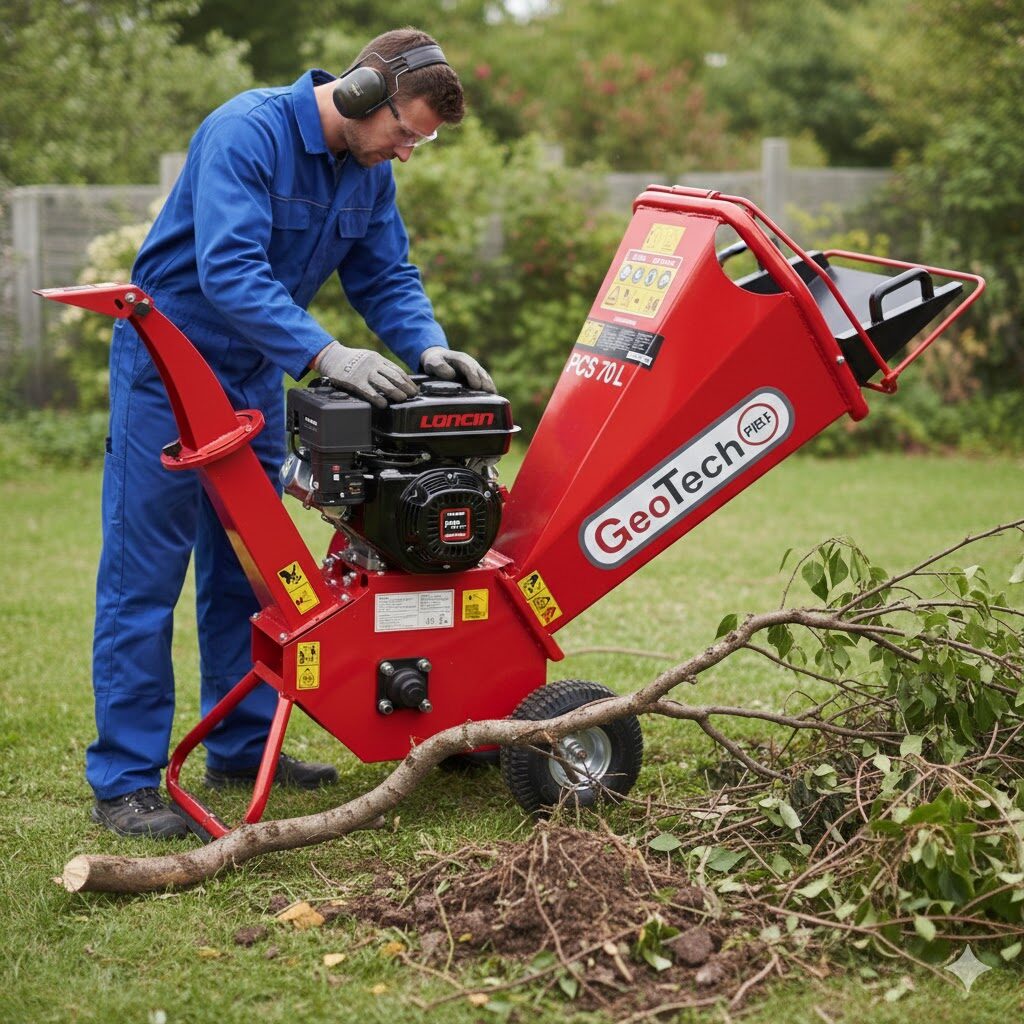
1.1 Stable Positioning of the Machine
The proper functioning of the shredder also depends on how and where it is located before starting.
A stable base allows for the machine to work smoothly, reducing vibration, unnecessary stress and problems during shredding.
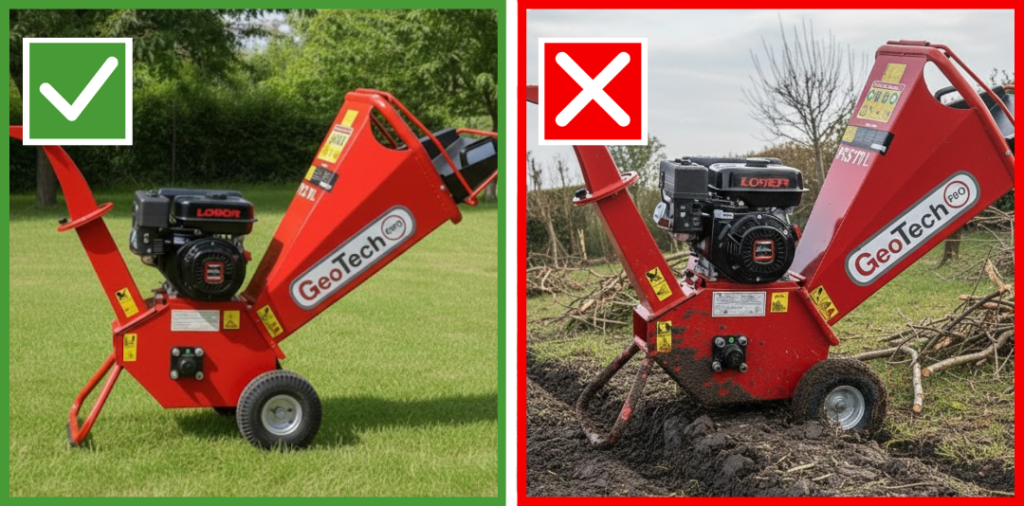
- What to do: place the shredder on a flat, stable surface, ensuring that it rests properly on all contact points. A stable base reduces abnormal vibrations, improves cutting efficiency, and limits stress on the frame and internal components, helping to extend the machine’s service life.
- What to avoid: using the machine on uneven, sloping or soft ground. Under these conditions, vibrations and misalignment increase, raising the risk of accelerated wear on bearings and drivetrain components, as well as poorer results and more downtime.
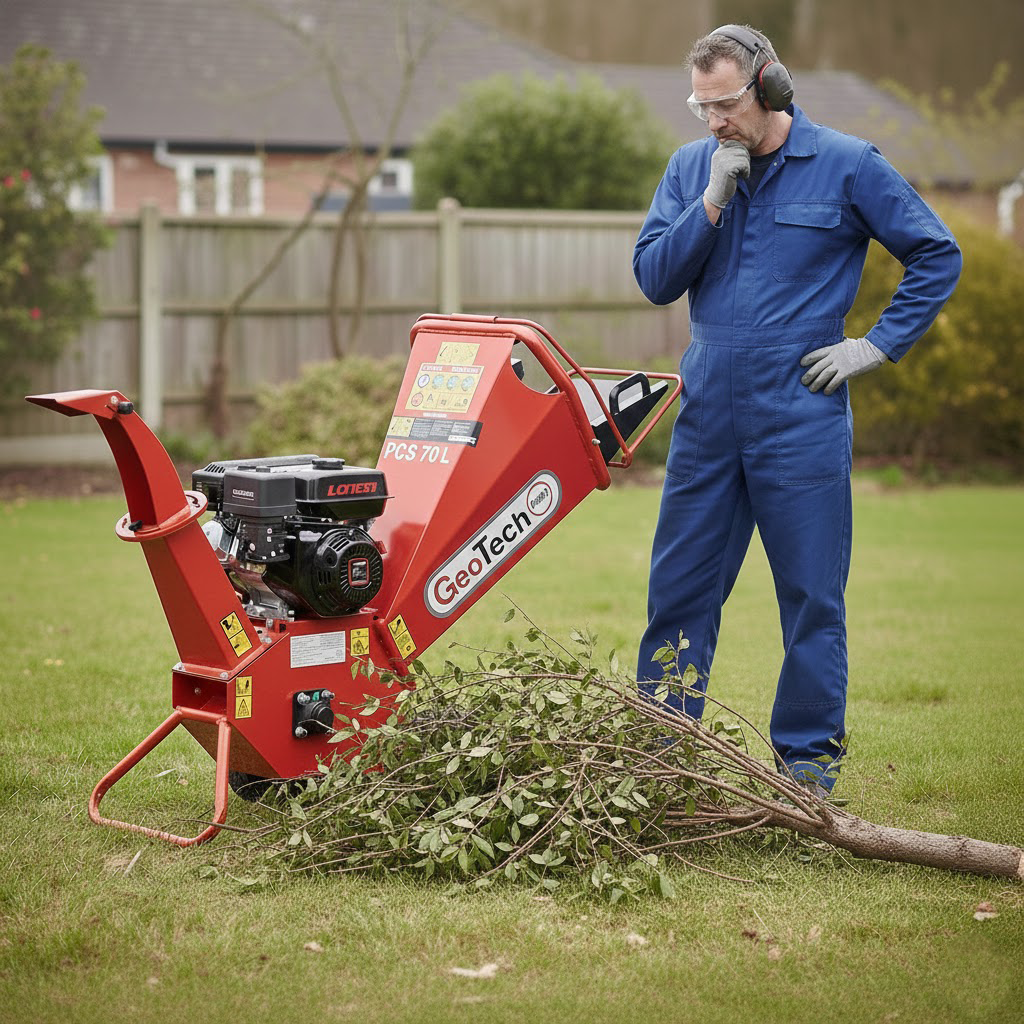
1.2 Material to be Shredded
Properly preparing and selecting the material to be shredded allows the cutting system to operate smoothly, reducing wear, blockages, and interruptions during use.
Which materials are suitable for shredding, and which are best avoided?
During preparation, it is advisable to start with what the garden shredder handles most effectively: fresh, green branches and prunings, cut recently, as their texture allows them to be fed more steadily into the cutting unit.
- What to do: prepare the material before shredding by separating thicker branches from very green, wet material, and removing any foreign objects such as stones, soil, wire, or ties. ‘Clean’, properly sorted material reduces impacts on the blades, protects the cutting system, and improves the quality of the shredded output.
- What to avoid: feeding in prunings contaminated with soil or mixed with foreign objects. Even small objects can chip the blades or damage rollers and counter-blades, causing vibrations, abnormal noise, and progressively less effective cutting.
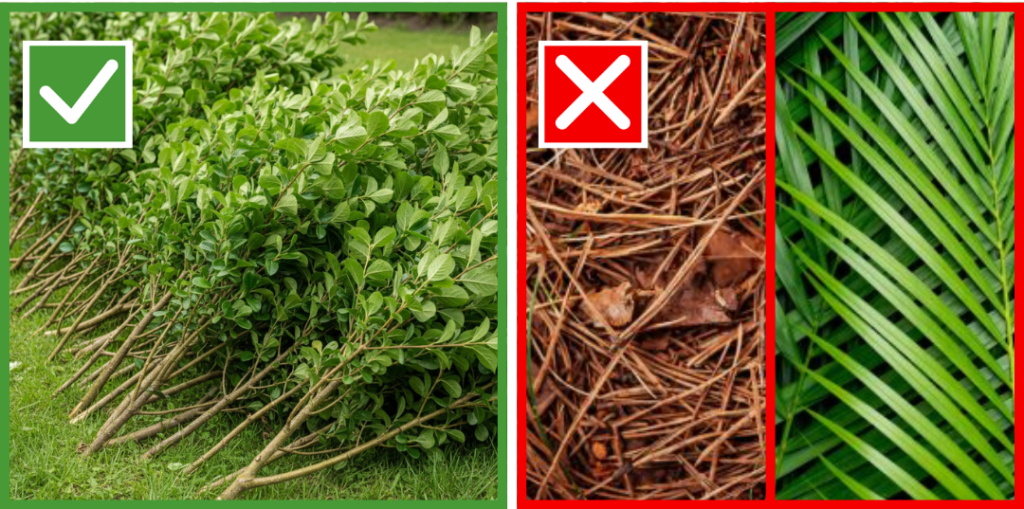
On the contrary, some materials can create problems even when ‘clean’. Leaves, pine needles and very light debris, if fed in on their own, tend to accumulate in the hopper and increase the risk of blockages. Large quantities of very wet material can also compact in the cutting chamber and obstruct discharge. Among the most problematic materials are highly fibrous ones—such as bamboo, prickly pear, and similar plants—which can wrap around components or compact, leading to frequent shutdowns.
2. Correct Handling During Use
Now we can move on to the actual use of the garden shredder. In this chapter, we discuss what to do and what to avoid while you work, with practical guidance on how to feed the branches, manage the pace, and spot the signs that the machine is being pushed too hard.
Correct use does not mean working slowly; it means respecting how the machine operates and allowing it the time it needs to shred and discharge the material without forcing it. The points below compare the recommended approach with the most common mistake during operation, showing how small adjustments can improve shred quality, reduce blockages and wear, and keep the work steady and consistent.
2.1 Feeding in the Material
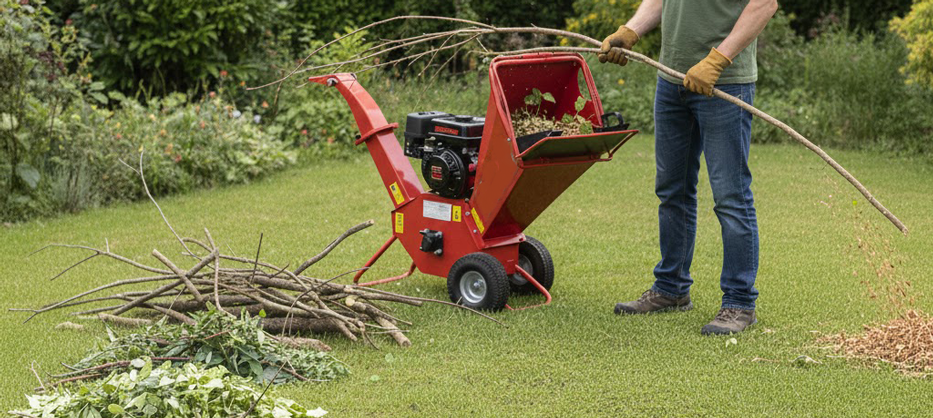
The way you feed in the branches determines whether the machine runs smoothly or under strain. A gradual feed helps keep the rotational speed stable and reduces jams, performance drops, and wear.
So in this case, what are the right steps to take and those to avoid?
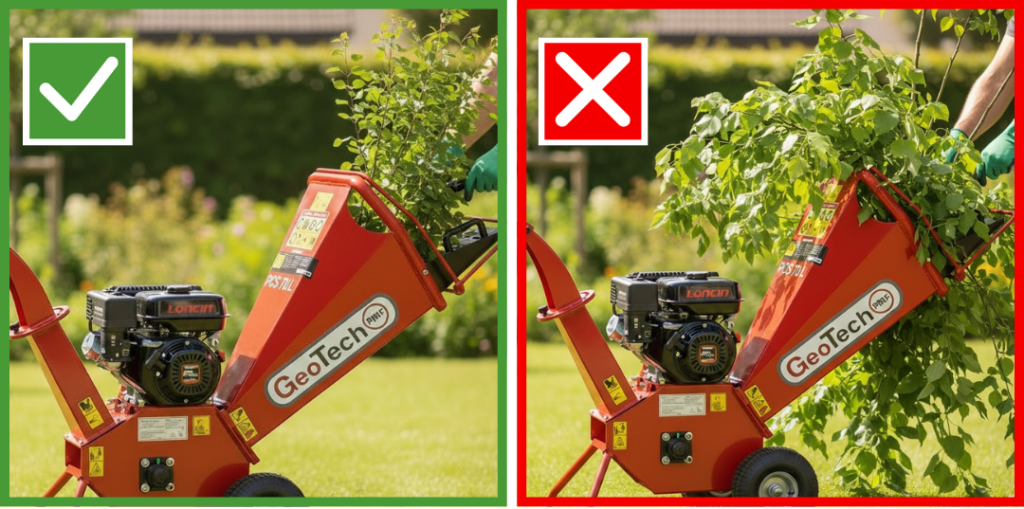
What todo: feed the branches from the correct side and in their natural orientation, guiding them without forcing and allowing the feed system (if fitted) to do the work. A steady feed protects the cutting unit and improves the consistency of the chipped material.
What to avoid: filling the hopper in a single load in an attempt to “save time”. The cutting system becomes overloaded, RPM drops, the likelihood of jams increases, and over time wear and stress on the drivetrain and motor also increase.
Tip: avoid pushing forcefully or twisting the branches to feed them all in at once.
2.2 Compliance with Cutting Capacity
Each shredder is designed to operate within specific limits: adhering to the maximum diameter stated in the manual helps prevent overloads, protects the cutting system, and supports consistent performance over time.
What to do when choosing branch diameter, and what should you avoid to prevent placing excessive strain on the cutting system?
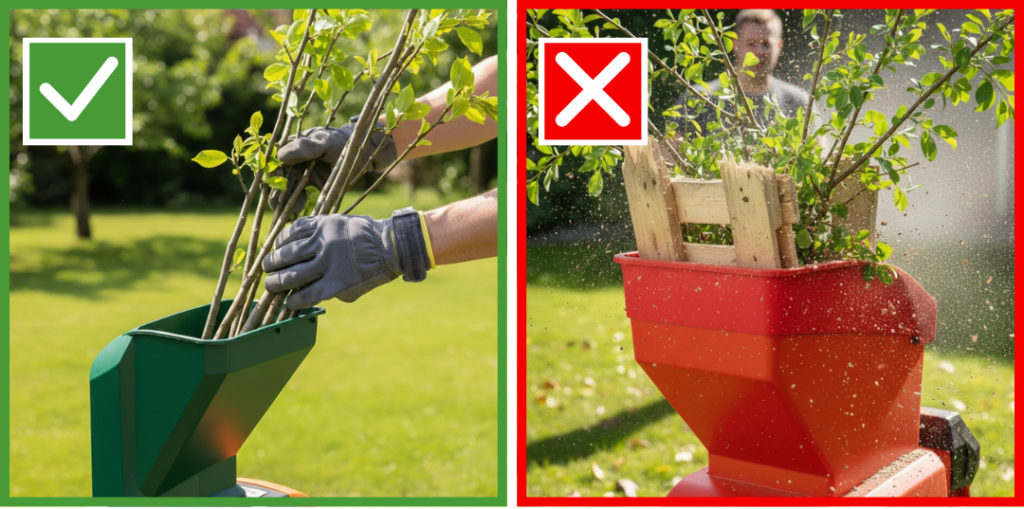
- What to do: stay within the machine’s actual capacity and the maximum diameter recommended by the manufacturer, especially when dealing with hardwoods or knotty branches. Staying within the correct working range preserves blades, counter-blades and motor.
- What to avoid: pushing the machine with borderline (or oversized) branches, hoping it will “eventually pull them through.” Also avoid dry/seasoned wood, roots with soil or sand attached, and any non-vegetation waste.
These materials overload the cutting system and speed up blade wear, causing a rapid drop in performance..
Tip: In most cases, it is advisable to stay below the maximum rated value, especially when shredding harder woods such as oak or olive.
2.2.1 Maximum and Recommended Diameter
What does ‘maximum diameter’ really mean in practice and when is it advisable to stay below this value?
The maximum cutting diameter is a technical limit stated by the manufacturer, not a value intended for continuous, routine use. According to the technical specifications, the machine is intended to work most efficiently at a lower recommended diameter. This promotes regular shredding, reduces strain on the blades and drivetrain, and supports longer component service life.
Regularly operating at the maximum diameter means running the machine at its mechanical threshold: it increases stress on belts, the cutting drum/roller, and bearings, while reducing the available safety margin.
In practice:
- The recommended diameter is the benchmark for everyday use.
- The maximum diameter is to be considered an exception, not the rule.
2.2.2 Wood Freshness and Hardness
The rated cutting capacity refers to freshly cut green wood.
Dry or seasoned wood, harder wood species, and material contaminated with soil or sand can reduce throughput and accelerate wear even at the same diameter; for this reason, it is advisable to maintain a safety margin when processing more demanding material.
2.2.3 Signs You Are Operating at the Limit
If the branch does not self-feed, if the engine speed drops, or if shredding becomes irregular, the machine is operating at its limit. In such cases, it is preferable to reduce both the branch diameter and the amount fed in, avoiding any attempt to force the feed.
Typical signs include:
- The branch does not self-feed.
- The engine speed drops.
- Shredding becomes irregular.
- Increased vibration and noise.
- Belt slippage can be detected.
| When it happens | Practical rule | What you achieve | |
|---|---|---|---|
| OK | ‘Standard’ branches | Operate below the recommended diameter | Smooth, consistent shredding |
| CAUTION | Branches close to the limit | Use the maximum diameter only occasionally and with fresh green wood | Less stress on blades and transmission |
| STOP | The machine is struggling | If the branch does not self-feed or RPM drops, reduce diameter and quantity | Avoid jams, vibration, and accelerated wear |
2.3 Proper Blade Handling
Proper blade management is one of the factors that most significantly affects a garden shredder’s performance and service life.
Blades operating under the proper conditions cut more effectively, require less load from the motor, and reduce vibration and overheating.

- What to do: check the condition of the blades regularly and feed only clean material, free of soil, sand, stones, or other foreign objects, to avoid damaging them.
- What to avoid: operating with worn or damaged blades, as shredding performance becomes inadequate, vibrations increase, and this may lead to jams or structural damage.
2.4 Jam Management
When material stops feeding through, it is easy to feel tempted to “insist” or to clear the intake in a hurry.
In fact, it is precisely in these moments that it becomes clear whether a jam remains a routine occurrence or turns into a source of wear, vibration, and damage to the cutting system. Correct intervention means stopping the feed, relying on the machine’s dedicated functions, and restoring normal flow without forcing the process.
So, what should you do when the material stops feeding through?
- What to do: as soon as you notice the branches are no longer feeding through, stop feeding material and let the machine “clear itself” for a few seconds, without adding any more material. If the shredder features a reverse function or an anti-jam system, use it as specified by the manufacturer: often a brief reverse cycle or a dedicated program is enough to clear the passage without any manual intervention. If the jam reoccurs, start again by reducing the load with thinner branches or alternating dry and less fibrous material, so that the cutting system works smoothly again.
- What to avoid: trying to free the infeed manually—by pushing or pulling branches—when the machine is operating or immediately after it has been switched off. Even when rotation appears almost stopped, there may still be residual movement and sudden kickback of the material. Moreover, forcing the jammed material worsens the blockage and increases stress on the blades and the counter-blade, leading to reduced performance and vibrations in subsequent operation.
3. What to Do if Something Goes Wrong?
Even when you follow all recommended practices and guidelines, unexpected situations can still occur—especially when the material changes or working conditions are not ideal.
The difference lies in how you respond: stopping the machine at the right time and intervening correctly prevents a minor issue from turning into damage or prolonged downtime.
In the section below, we compare what to do and what to avoid when something goes wrong, helping you restore proper operation without forcing and without putting unnecessary strain on the machine:
3.1 Performance Drop
If, during shredding, you notice the machine struggling, the material feeding more slowly, or the output becoming less consistent, it does not necessarily mean the blades are the issue or that there is a mechanical fault. Most performance issues are caused by poor material flow or an excessive load. By tackling the simplest causes first, you can usually restore performance quickly and reduce the risk of overheating and avoidable wear.
What should you do when performance drops during shredding?
- What to do: check the operating conditions: verify whether the material is very wet or fibrous, whether you are feeding it too quickly, or whether the discharge chute is partially obstructed. Often, simply reducing the load, alternating with drier material, and ensuring the discharge is unobstructed is enough to restore smooth, regular operation. Addressing the root cause restores performance, reduces stoppages, and helps keep the temperature of the motor and cutting system under control.
- What to avoid: assuming right away that the blades are “worn-out” or that there is a mechanical fault, and then carrying on in exactly the same conditions. Persisting with an excessive load or unsuitable material can cause overheating and accelerated wear, even if the blades are still in good condition. Forcing the machine at this stage worsens performance and may turn a simple drop in output into premature maintenance.
3.2 Abnormal Vibrations or Metallic Noises
During shredding, the shredder should operate with a steady, consistent sound and controlled vibration levels.
If you hear metallic knocking, experience stronger-than-normal vibrations, or notice more frequent jams, it is a warning sign that should not be underestimated. The causes can vary: foreign objects, an incorrect load, blades that are no longer sufficiently sharp, or potentially damaged parts. What should you do if abnormal vibrations, metallic noises, or repeated jams occur during operation—and what should you avoid to prevent the issue from worsening?
- What to do: switch the machine off immediately and wait for the internal organs to shut down completely. Then, check from the outside for any foreign objects and, following the manufacturer’s manual, assess the general condition of all accessible parts. If jams become more frequent and the cut is less clean, also consider possible loss of sharpness: dull blades require more effort, increase vibration, and reduce shredding output quality.
- What to avoid: keeping the machine running “just to get it done quickly,” despite vibrations, unusual noises, or recurring blockages. Continuing to work with blunt blades—or when a foreign object is present—puts extra strain on the cutting system, rapidly worsens shredding quality, and can turn a straightforward maintenance job into a far more expensive issueo.
3.3 Sudden Shutdowns
A sudden stop or a safety cut-out is almost never “by chance.” More often, it is a sign the machine is working outside its optimal conditions—because of overload, a partially blocked discharge, or unsuitable material. Handling this situation properly helps prevent unnecessary stress on the engine and makes it easier to restart work in a reliable, steady way.
So, what should you do—and what should you avoid—if the engine stops or a safety device trips while you are working?
- What to do: stop feeding material immediately and allow the machine to cool down. Before attempting to restart, identify and remove the cause: reduce the load if you were feeding too quickly, clear the discharge if it is partially obstructed, and check whether you are shredding material that is too wet or too fibrous.
- What to avoid: restarting repeatedly without addressing the cause of the shutdown, hoping the machine will “recover on its own”.
Repeated no-load restarts or restarts under strain increase stress on the motor and starting components and may lead to premature failures or performance loss, turning a simple overload into a longer period of downtime.
3.4 Smoke During Operation
The presence of smoke during operation may be due to temporary overheating, material build-up in contact with hot parts, or excessive strain on the drivetrain. Identifying the source of the smoke helps you respond appropriately and prevent more serious damage:
- A slight amount of smoke or a burning smell coming from the side area may indicate belt slippage under load.
- More noticeable smoke coming from the engine area may be linked to overheating or an incorrect oil level. In either case, it is important to stop and check before resuming work.
What should you do if you notice smoke or a burning smell during operation?

- What to do: stop feeding material immediately and switch off the machine, allowing it to cool down completely.
If the smoke is coming from the transmission area, it is possible that the belt is slipping due to an excessive load or that the engine speed is too low: reduce the feed material and check the condition of the belt according to the manual. - What to avoid: continuing to work while ignoring smoke or unusual odours, and persisting with the machine under heavy load, can cause overheating, damage the belt, and increase stress on the engine.
Also avoid touching components that are still hot, and do not intervene until the machine has been fully secured.
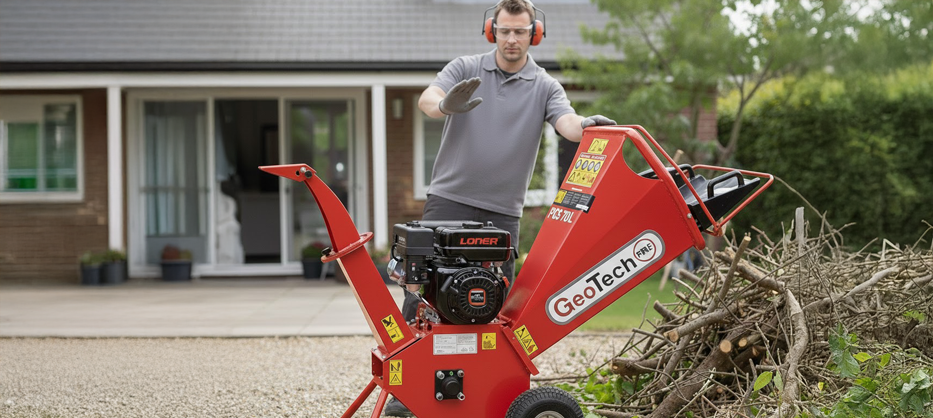
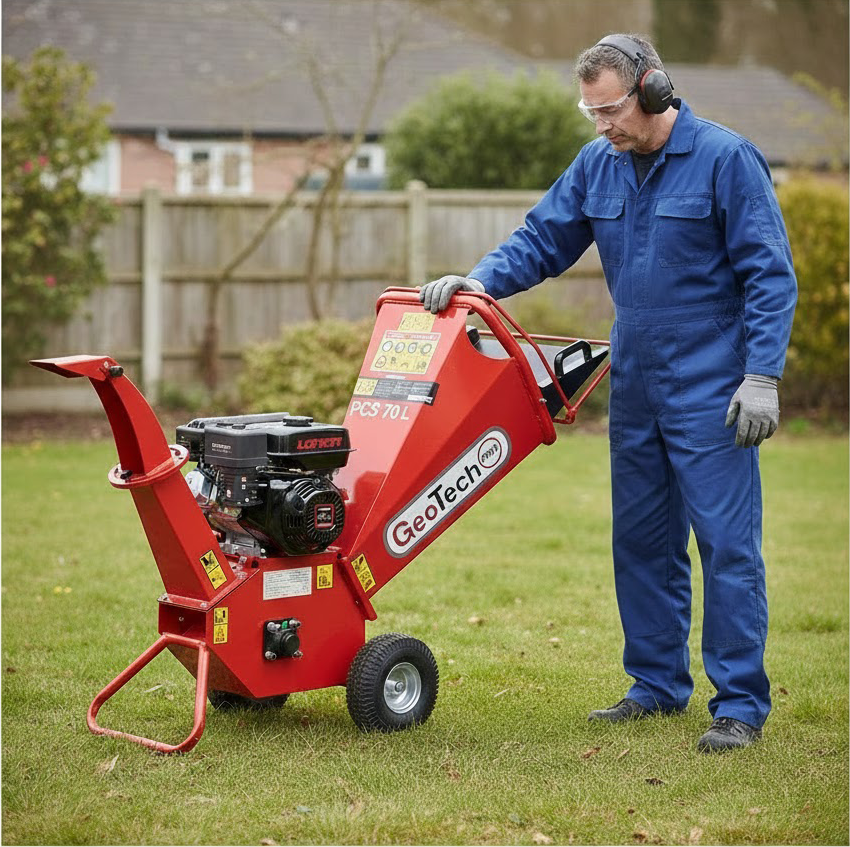
4. PPE and Safety Clothing
Using the shredder means working with internal cutting components, material that may be ejected, and sustained noise levels. So, even if the safety features are working and the machine seems “quiet,” a knotty branch or an unexpected kickback can still create uncomfortable or hazardous situations.
Wearing the right PPE does not only protect you from injury, it also helps you work with more peace of mind.
- Hearing protection is strongly recommended. The garden shredder produces continuous noise that, over time, causes fatigue and reduces concentration. Earmuffs or earplugs help you maintain concentration for longer, making it easier to notice machine cues such as changes in sound associated with overload or blockages.

- Protective goggles or, better still, a face shield prevent splinters, chips, and dust from striking your eyes during feeding or from the discharge. Even seemingly light material can be ejected with significant force and may force you to stop working, leading to a loss of concentration and a higher risk of mistakes.
- Work gloves are useful for handling thorny, uneven or slippery branches and improve grip when feeding. A secure grip allows the material to be guided without force and without sudden movements, protecting the hands and contributing to a smoother flow that preserves the cutting system.
Footwear should also be sturdy and have non-slip soles. During shredding, the ground quickly fills with shavings and residues that make the surface slippery. Appropriate shoes improve stability, allow correct posture and reduce the risk of slips that lead to instinctive reactions or incorrect postures near the hopper..
Tip: clothing must also be close-fitting and durable. It is important to avoid loose sleeves, laces, or loose clothing that could become entangled..
Always refer to the manufacturer’s manual and the machine’s safety devices for the selection of the most suitable PPE and for specific indications related to your shredder model. Appropriate, task-suitable clothing is an integral part of efficient, safe, and consistently satisfactory use over time.